


9133i IP Phone User Guide 21
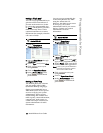
Making Calls
or
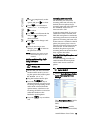
3. Press 7 to jump directly to this
option, and press
U to select.
4. Press
V to scroll down to
headset/mic volume and press
U to select.
5. Use
V to scroll down the list
and press
U to select your
desired volume.
6. Press
U to save changes and
T to exit.
7. If you do not wish to save
changes, press
T to return to
the previous screen.
NOTE: By default, the volume for the
headset microphone is set to
medium.
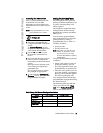
Making and Receiving Calls
Using a Headset
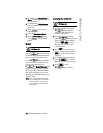
1. Ensure that you have selected a
headset audio mode by access-
ing the options list (under option
#7 √Headset Settings).
2. Plug the headset into the jack.
3. Press the
q key to
obtain a dial tone or to answer an
incoming call. Depending on the
audio mode selected from the
options menu, a dial tone or an
incoming call will be received on
either the headset or the
handsfree speakerphone.
4. Press the
N key to end the
call.
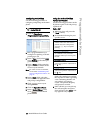
Incoming Intercom Calls
On the 9133i, you can receive
incoming intercom calls only. By
default, the microphone for an
incoming intercom call is OFF, and
the automatic answer for an
intercom call is ON.
Using the Aastra Web UI, you can
enable (turn ON) or disable (turn
OFF) the microphone or automatic
answering (auto-answer) on the IP
phone for incoming intercom calls.
If auto-answer is enabled on the IP
phone, the phone plays a tone to
alert the user before answering the
intercom call. If auto-answer is
disabled, the phone rejects the
incoming intercom call and sends a
busy signal to the caller.
Enabling/Disabling Microphone and
Auto-Answer
Use the following procedure to
enable/disable the microphone
and/or auto-answer on the IP
phone.
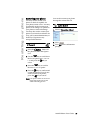
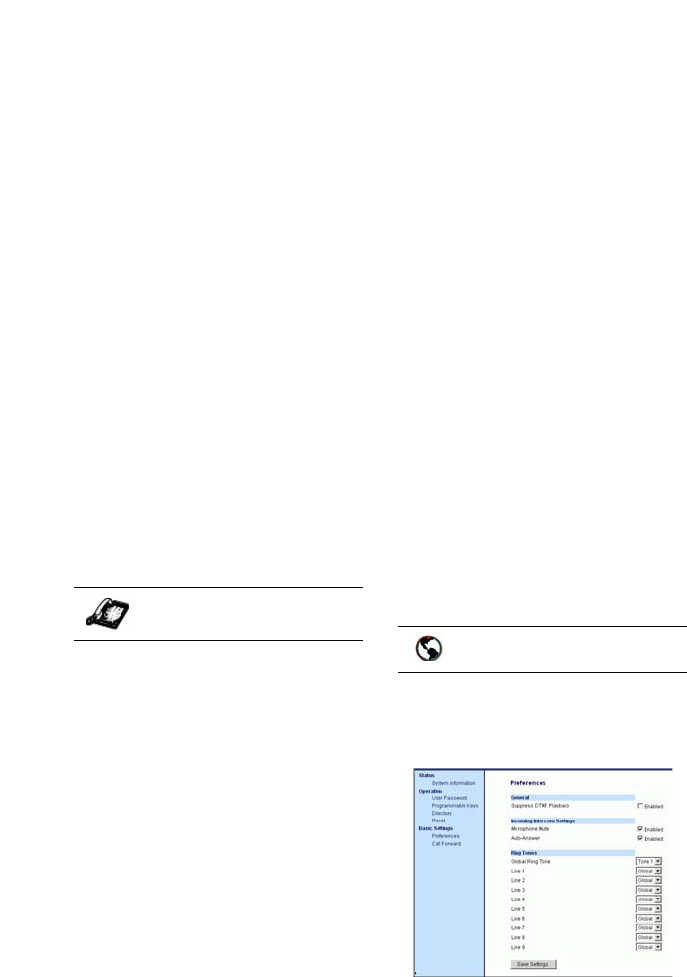
1. Click on Basic Settings->Prefer-
ences->Incoming Intercom
Settings.
The "Microphone Mute" field is
enabled by default (turned
OFF).
The "Auto-Answer" field is
enabled by default (turned ON).
IP Phone UI
Aastra Web UI