stranded cable so the wires are tight.
Step 10. Follow the instructions included with the
volume control and amplifier.
Step 11. You are now ready to install the
speaker. Remove the paint mask from the baffle.
Be careful not to touch the speaker cones and
tweeter when removing the paint mask in
order to prevent any damage. Attach the
speaker cable to the speaker by pressing down
on the red (+) or black (-) gold-plated push
terminals and inserting the red wire in the red
terminal and the black wire in the black terminal.
See Figure 3 on page 8. Make sure that none of
the strands from the black and red wires are
touching each other. This can create a short
circuit that can damage your electronics. Index
the mounting tabs to make sure that all tabs will
clear the opening. Insert the speaker in the
ceiling and tighten the tabs with the screws on
the front of the grille. DO NOT OVERTIGHTEN
THE SCREWS, the screws should only be tight
enough to secure the speaker.
Step 12. After the speaker is mounted,
adjustments to the swivel tweeter (small speaker)
can be made by either directing the sound
visually or by using a musical source to
determine the best sound coverage for the
listening area. To position the tweeter, press at
the outside edge of the tweeter housing (DO
NOT PRESS ON THE TWEETER CONE
DIRECTLY).
Note the crease in the asymmetrical tweeter
provides the highest directional response in this
direction. See figure 4 on page 9.
Page 18
TM
speaker wire tie-off.
TIPS FOR NEW CONSTRUCTION
• If possible, run speaker wires after AC
wiring is in place to avoid additional noise
caused by close proximity of wiring.
• Secure the speaker wires against a joist with
insulated staples, being careful not to pierce
the wire insulation. Allow slack for building
material expansion.
• Horizontal wire runs should be routed through
holes drilled at equal heights in the joist.
• Do not install the actual speaker until the wall
board is in place. Until then leave several feet
of wire secured to the back of the mounting
ring. The excess wire can be removed during
final installation.
• During the drywall installation, make sure the
speaker cut-out hole does not extend farther
than 1/4 inch from the inside of the mounting
ring. The flat rough-in rings and flaps are thin
enough that they won’t interfere with wall
board installation.
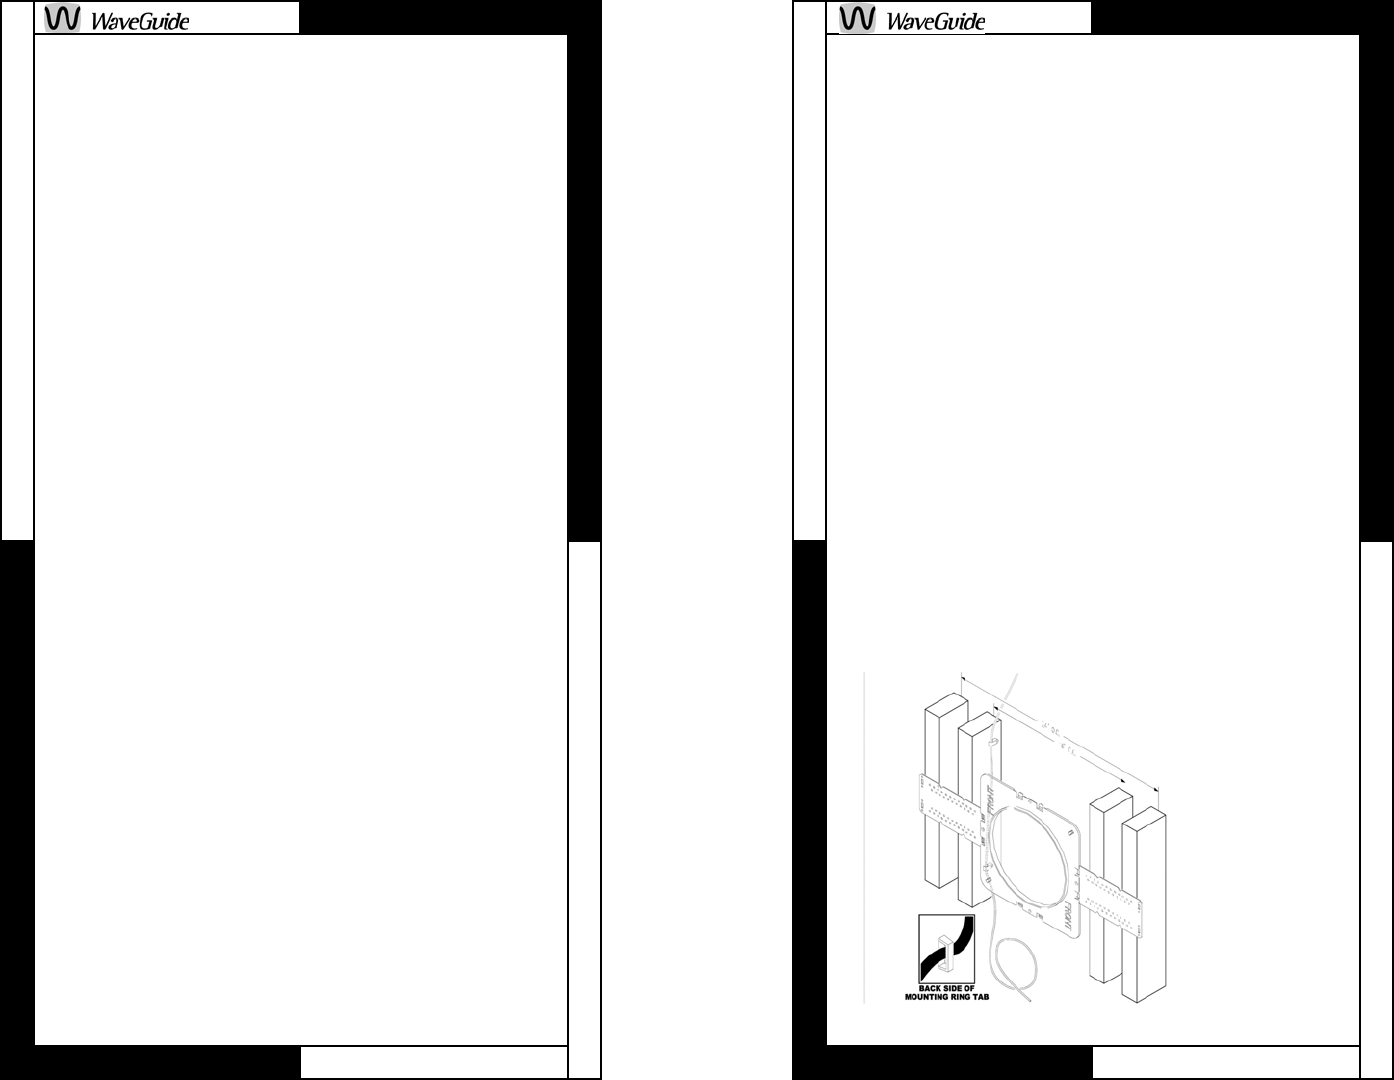
Step 2. After
you have
determined
the speaker
locations
using the
guidelines
above, se-
cure a 16
gauge 2-
conductor
cable to the
mounting ring
Page 7
TM
FIGURE 2


