5
TEL LINE 1/22
C
k
page 1
C
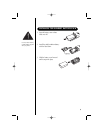
5. Plug one end of the long telephone cord into the
1. Plug the AC adapter cord into the 10V DC
input jack on the back of the base.
2. Wrap the A adapter cord around the strain
relief notch.
3. Plug the AC adapter into a standard 120V A wall outlet.
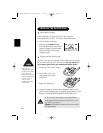
4. Charge the battery (refer to CHARGING THE BATTERY PACK,
TEL LINE 1/
jack on
the back of the base.
6. Plug the other end of the cord into the telephone jack on the wall.
7. Set the base on a desk or tabletop.
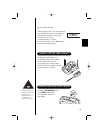
Place the handset on the base with the
eypad either facing up or down. Raise the
antenna to a vertical position.
5
TEL LINE 1/22
C
k
page 10).
C
5. Plug one end of the long telephone cord into the
1. Plug the AC adapter cord into the 10V DC
input jack on the back of the base.
2. Wrap the A adapter cord around the strain
relief notch.
3. Plug the AC adapter into a standard 120V A wall outlet.
4. Charge the battery (refer to CHARGING THE BATTERY PACK,
TEL LINE 1/
jack on
the back of the base.
6. Plug the other end of the cord into the telephone jack on the wall.
7. Set the base on a desk or tabletop.
Place the handset on the base with the
eypad either facing up or down. Raise the
antenna to a vertical position.
5
TEL LINE 1/22
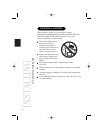
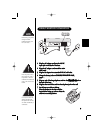
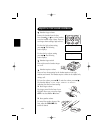
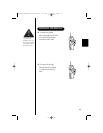
DESK/TABLETOP INSTALLATION
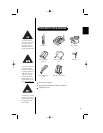
Before using your phone,
charge the Nickel-
Cadmium battery pack
for 15-20 hours.
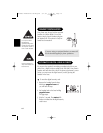
Place the power cord so
that it does not create a
trip hazard or where it
could become chafed and
create a fire or electrical
hazard.
Use only the Uniden AC
adapter supplied with
this phone. DO NOT use
an outlet controlled by a
wall switch.
C
k
page 1
C
5. Plug one end of the long telephone cord into the
1. Plug the AC adapter cord into the 10V DC
input jack on the back of the base.
2. Wrap the A adapter cord around the strain
relief notch.
3. Plug the AC adapter into a standard 120V A wall outlet.
4. Charge the battery (refer to CHARGING THE BATTERY PACK,
TEL LINE 1/
jack on
the back of the base.
6. Plug the other end of the cord into the telephone jack on the wall.
7. Set the base on a desk or tabletop.
Place the handset on the base with the
eypad either facing up or down. Raise the
antenna to a vertical position.


