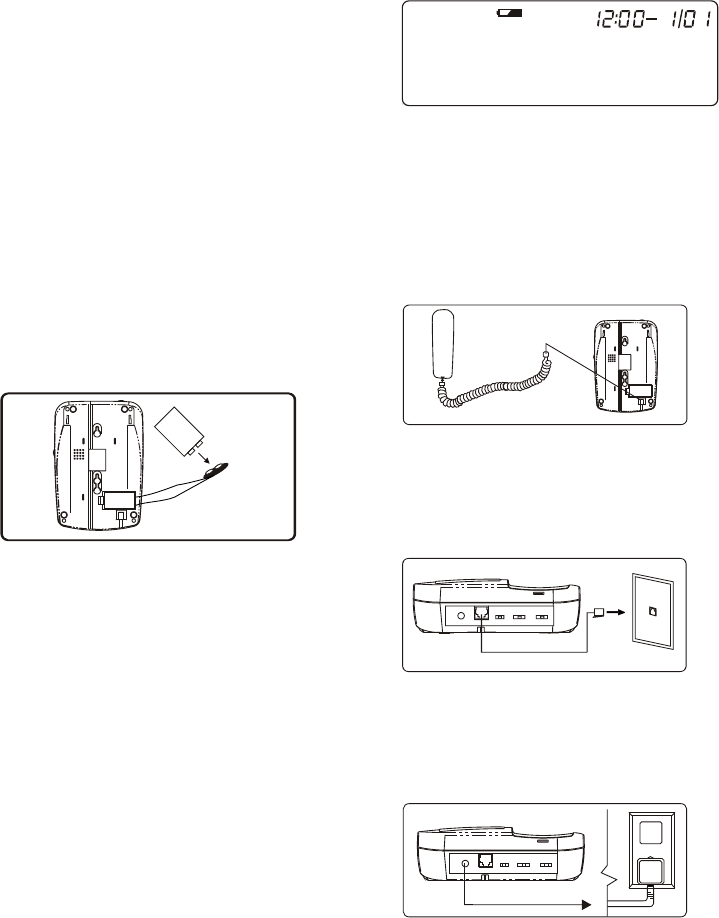
General Information
UNPACKING
This package contains:
• FM2572 Telephone with Caller ID/Call Waiting and Digital Answering System
• One (1) AC Adaptor 120V AC
• Owner's manual
• One (1) Desk Mount Bracket
• One (1) Fully Modular Coil Cord
• One (1) Long Fully Modular Telephone Line Cord (Long Straight Cord)
• One (1) Short Fully Modular Telephone Line Cord (Short Straight Cord)
• One (1) Quick Reference Guide
• Warranty Card (Part Of Owner's Manual)
• Remote Access Card
If anything is missing or damaged, contact the place of purchase. Keep the
packaging to transport the telephone.
Helpful Tips From Customer Service
1. You must subscribe to Caller ID and Call Waiting service from your local
telephone company for your FM2572 to operate.
2. Remove the "peel off label" covering the FM2572's display.
3. Plug one end of the telephone line cord into the TELEPHONE LINE jack on the
FM2572 and the other end into the modular outlet in your telephone wall jack.
4. Plug the AC Power Adapter into the FM2572 before connecting it to the wall outlet.
5. Make sure you can read the display clearly. Adjust the display contrast by pressing
and holding the CALL BACK and ERASE buttons at the same time for 2 seconds.
Rotate the "REVIEW" knob to select the contrast. Press ERASE to confirm the contrast.
Installation
CAUTION
1. Never install telephone wiring during a lightning storm.
2. Never install telephone jacks in wet locations unless the jack is specifically
designed for wet locations.
3. Never touch uninsulated telephone wires or terminals unless the incoming
telephone line has been disconnected at the network interface.
4. Use caution when installing or modifying telephone lines.
Note: Refer to "FCC Requirements" section on page 28 before connection to
telephone line.
8
9
AM
Figure B
Telephone Installation
Battery Installation
1. Insert a ball point pen into the hole
located in the battery compartment door
(on the bottom of the base). This will
loosen the door, and you should lift the
battery compartment door.
2. Install one 9V Alkaline battery. One 9
volt battery (not included) is required to
maintain your personalized greeting and
recorded messages during a power failure.
If there is a power failure and the battery
is not installed, both your personalized
greeting and recorded messages will be lost.
NOTE: You must install 9 volt battery
in order for the Caller ID and Telephone
operation to function properly.
3. Replace battery compartment door and
snap into place.
Note: After installing a 9V battery,
system displays "SET
LANGUAGE s t". Your FM2572
enters setting mode. (See Setting Up
Your FM2572 section for details.)
Replace a new 9V alkaline battery
when the Battery Low Indicator
(BATTERY LOW ICON) appears on the
LCD display. The battery level is indicated
by the presence of the battery indicator
during normal operation. If the 9 Volt
battery is low or has been installed
incorrectly, the battery low indicator will
appear on the LCD display. (Fig. B)
9V
Battery
9V
Battery
Figure A
Choose Your Location
Before making any connections, install
the FM2572 near an AC power outlet and
a telephone wall jack (RJ11C).
Desk or Table Installation
1. Connect the COIL CORD into the jack on
the bottom of the base (Fig. C).
2. Plug one end of the telephone line
cord into the TELEPHONE JACK located
on the back of the FM2572, and the other
end into the modular outlet in your
telephone wall jack (Fig. D).
3. Connect the AC adaptor into the AC
ADAPTOR JACK on the back of the base
and into the AC wall power outlet. Do
not attach (staple, etc.) the power supply
cord to the building wall (Fig. E).
The Message Counter will then countdown
from 9 to 0. The unit is checking its memory,
and you should not press any buttons.
Figure C
Figure D
AC
ADAPTER
Figure E
