


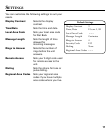
8
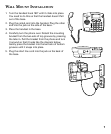
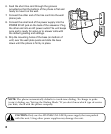
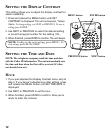
6. Feed the short line cord through the grooves
provided so that the bottom of the phone is flat and
ready to mount on the wall.
7. Connect the other end of the line cord into the wall
phone jack.
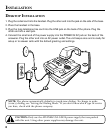
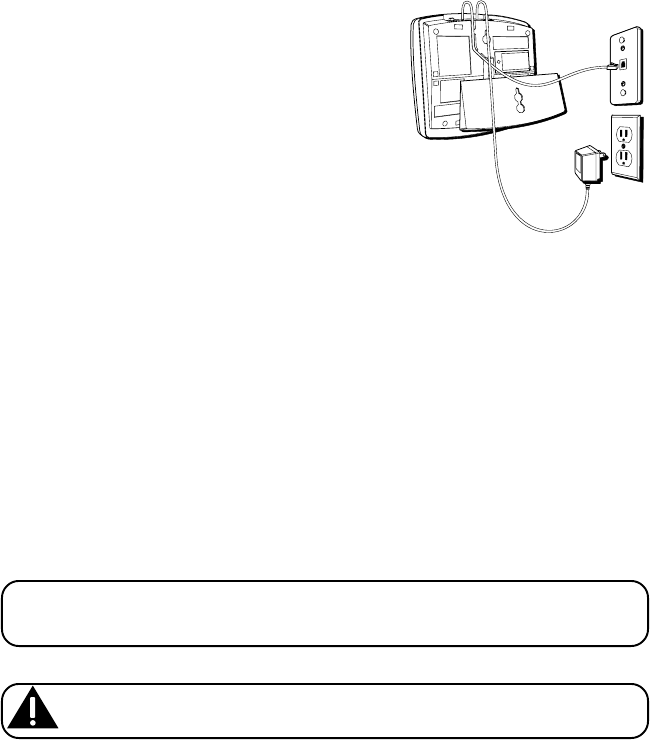
8. Connect the small end of the power supply into the
POWER 9V AC jack on the back of the answerer. Plug
the other end into an AC power outlet. The unit beeps
once and is ready for setup or to answer calls with
the default greeting and settings.
9. Slip the mounting holes of the base (on bottom of
unit) over the wall plate posts and slide the base
down until the phone is firmly in place.
NOTE: The phone automatically defaults to touch-tone dialing. To change to pulse
(rotary) dialing, see “Setting the Dialing Mode.” If you don’t know which type of service
you have, check with the phone company.
CAUTION: Only use the ATLINKS USA 5-2434 power supply that was packed
with this unit. Using other power supplies may damage the unit.