8 Helpline Tel. No.: U.K. 08700 100 076 R.O.I. 01289 8333
Preparation
Displays
Display icons
*1 For KX-TG7120/KX-TG7160/KX-
TG7180/KX-TG8120/KX-TG9120/KX-
TG9140/KX-TG9150 users only
Connections
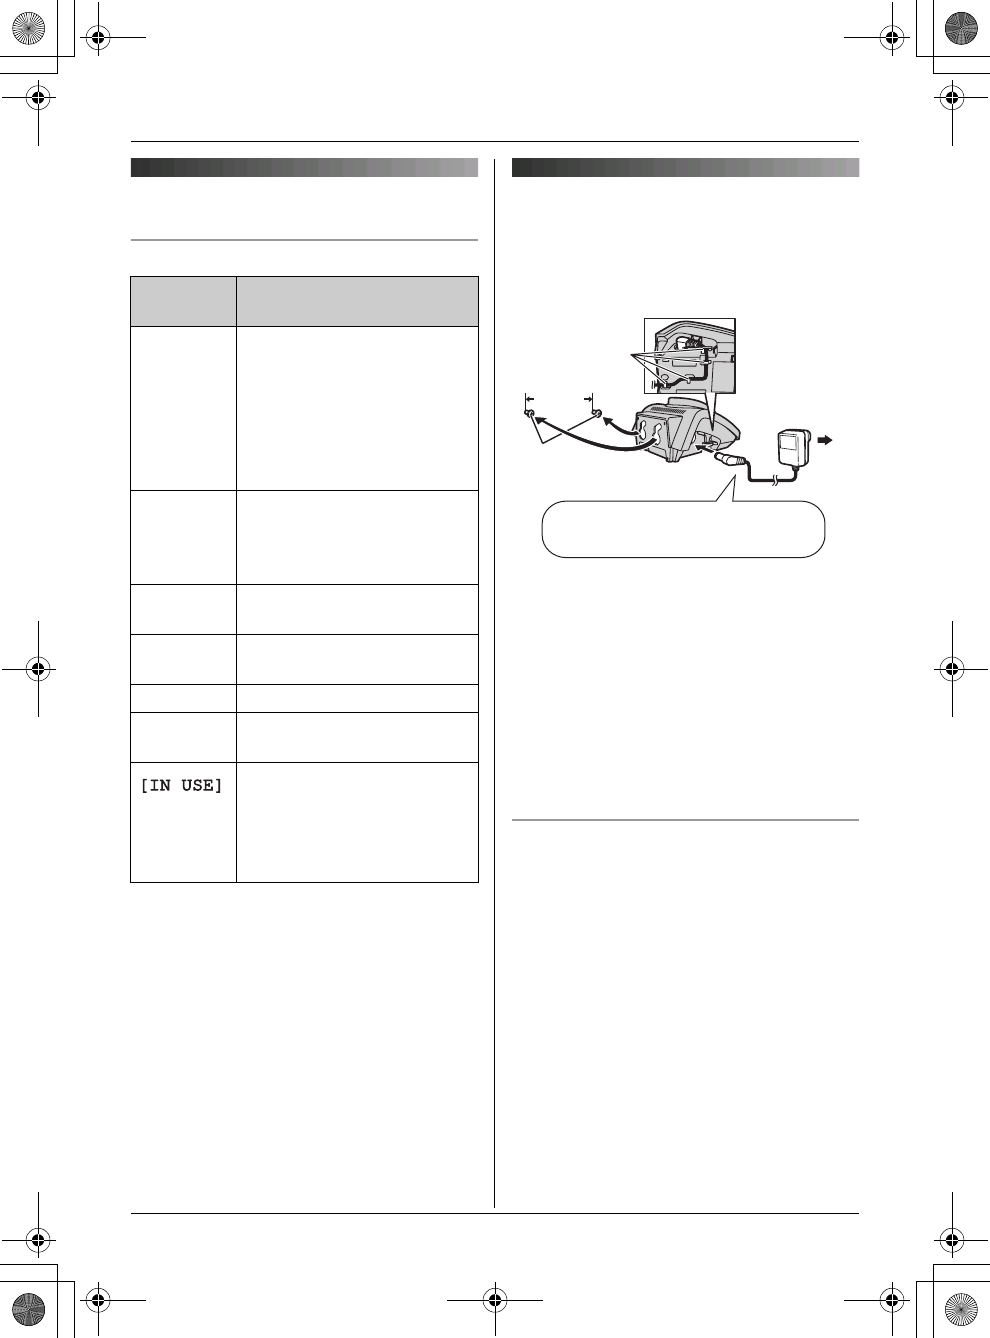
Connect the AC adaptor to the charger and
route the cable as shown. The charger can
be mounted on the wall, if required.
Note:
LThe AC adaptor must remain connected
at all times. (It is normal for the adaptor to
feel warm during use.)
LThe AC adaptor should be connected to a
vertically oriented or floor-mounted AC
outlet. Do not connect the AC adaptor to a
ceiling-mounted AC outlet, as the weight
of the adaptor may cause it to become
disconnected.
Location
LFor maximum distance and noise-free
operation, place your base unit:
– away from electrical appliances such as
TVs, radios, personal computers or
other phones.
– in a convenient, high and central
location.
Display
icon
Meaning
w Within range of a base unit
LWhen flashing: Handset
is searching for base unit.
(out of range of base unit,
handset is not registered
to base unit, no power on
base unit)
L Handset is accessing base
unit. (intercom, paging,
changing base unit
settings, etc.)
k Handset is on an outside
call.
u Answering system is on.
*1
(page 19)
5 Battery strength
[2] Handset number (Standby
display setting, page 16)
LLine is being used by
another handset.
LAnswering system is
being used by another
handset or the base unit.
(220
–
240 V,
50 Hz)
Screws
25 mm
Hooks
Use only the included AC adaptor.
TGA715E_717E(e-e).book Page 8 Wednesday, August 2, 2006 2:46 PM


