AC Power Adapter
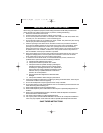
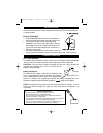
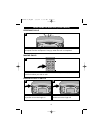
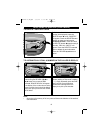
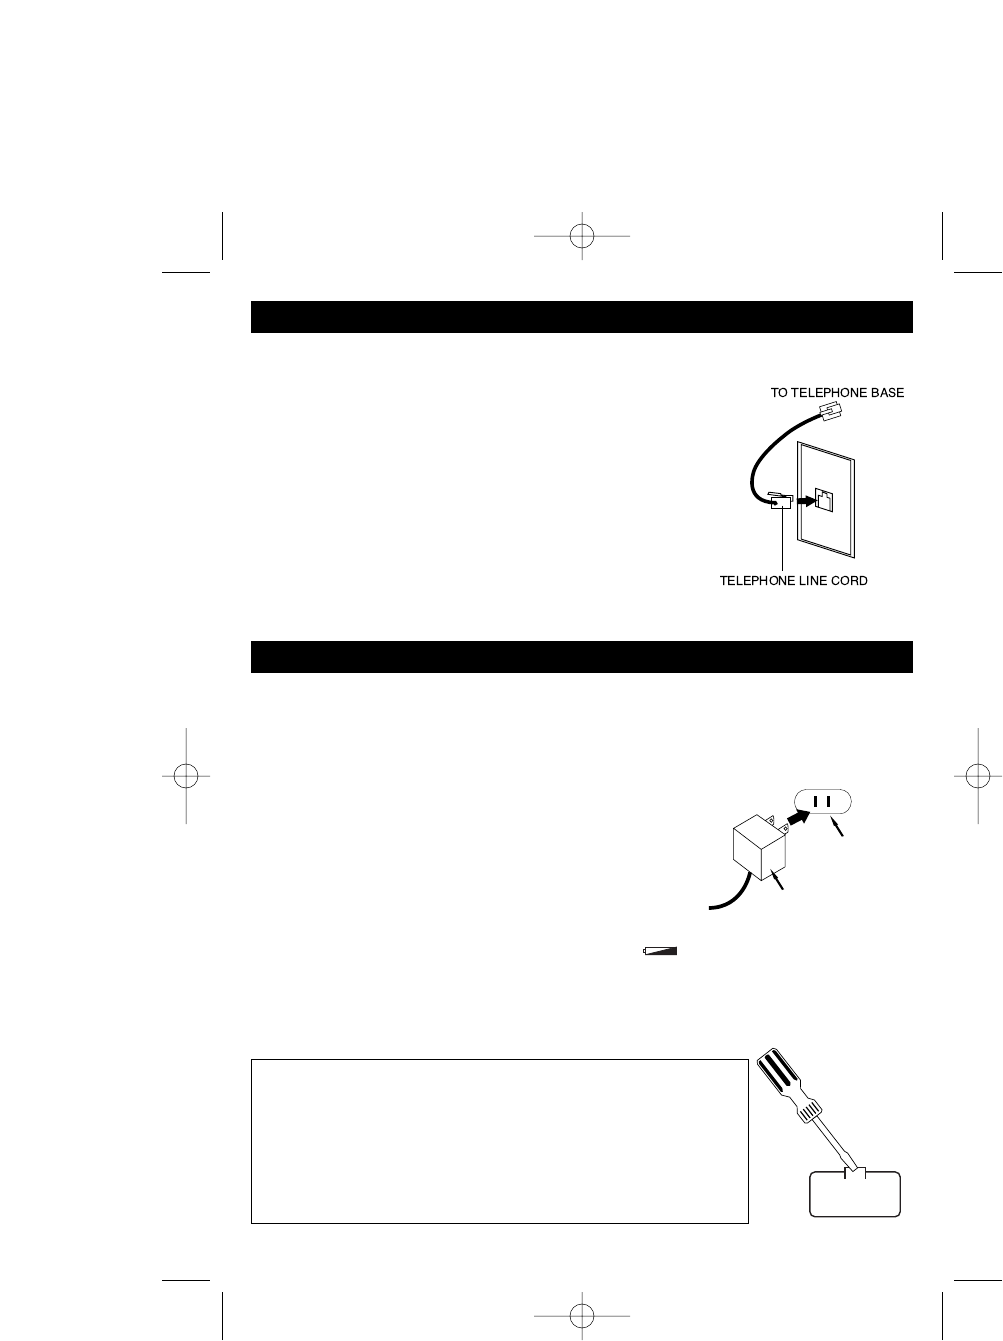
To operate the unit using AC power, connect the AC adapter to the jack labelled
“DC IN” on the rear of the unit and to a wall outlet having 120V, 60Hz only.
CAUTION: Use only the AC adapter provided with the unit. Using another AC
adapter may damage the unit. Do not touch the AC
adapter with wet hands.
Battery Installation
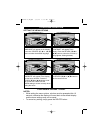
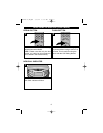
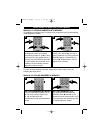
To install the 9V battery, make sure the telephone line
cord is unplugged and open the battery compartment
with a slotted screwdriver as shown in the figure below.
Insert a 9V battery (not included) and replace the battery compartment cover.
Replace the battery when the Battery indicator (“ ”) lights in the display.
NOTE: The battery is only used to store the clock and caller ID memory, it will not
show the caller ID display nor play the radio when the AC adapter is not
connected.
5
INSTALLATION
This unit can be used on a desk or other level surface away from excessive heat
or direct sunlight.
Desk or Table Use
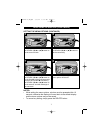
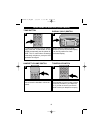
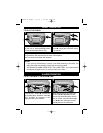
1. Set the RINGER switch to the HI or LO position to
have the ringer sound when receiving a phone call.
2. Connect the coiled cord to the handset and
HANDSET jack on the rear of the base. Connect
the straight cord to the PHONE LINE jack on the
rear of the base and telephone jack as shown in
the figure to the right.
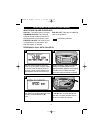
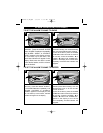
3. If desired, rotate the clips on the bottom of the unit
so the phone tilts slightly forward and makes viewing the caller ID easier.
POWER SOURCES
AC Adapter's Plug
AC Outlet
BATTERY PRECAUTIONS
Follow these precautions when using batteries in this device:
1. Use only the size and type of batteries specified.
2. Be sure to follow the correct polarity when installing the batteries as
indicated in the battery compartment.
3. If the device is not to be used for a long period of time, remove the batteries to
prevent damage or injury from possible battery leakage.
4. Do not try to recharge batteries not intended to be recharged; they can
overheat and rupture. (Follow battery manufacturer’s directions.)
MC4285.O/M.QXD 1/3/02 1:36 PM Page 5


