6
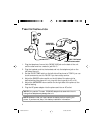
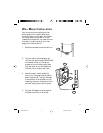
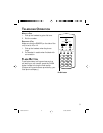
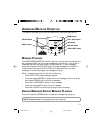
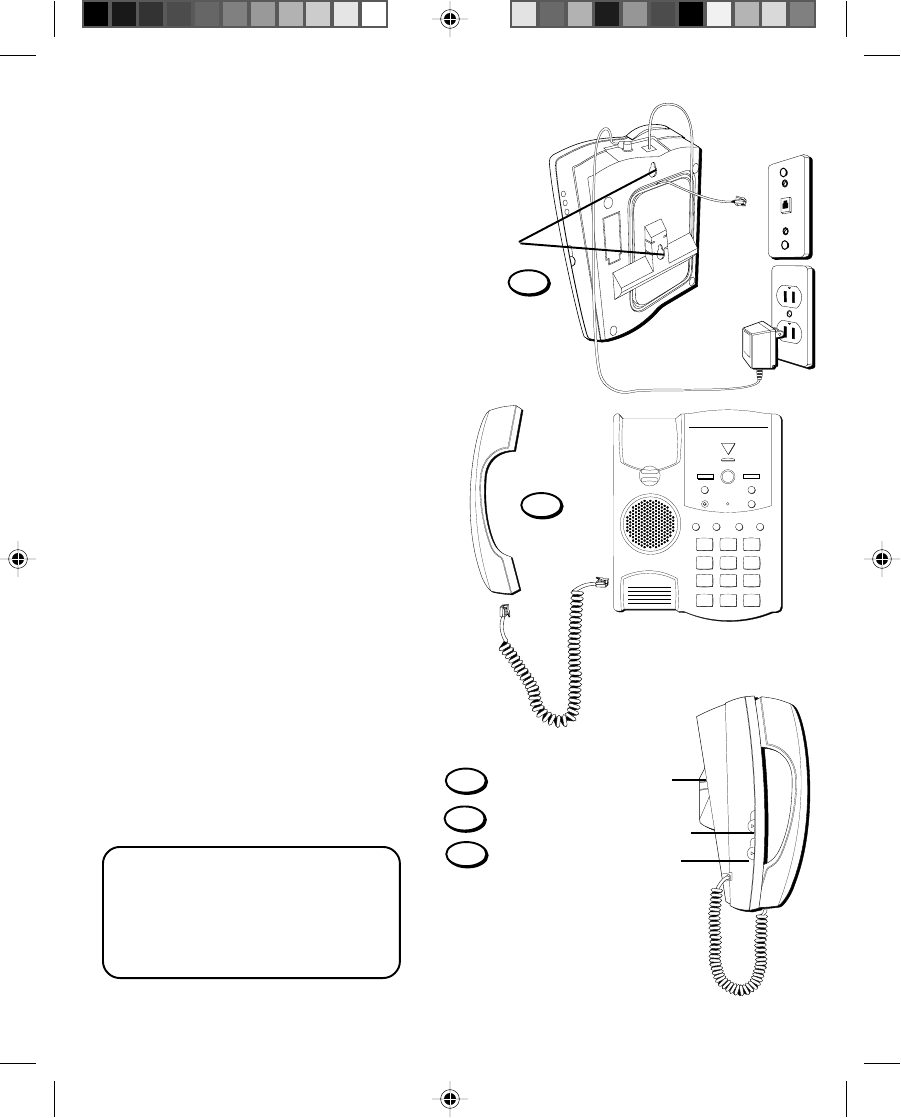
5. Slip the mounting holes over
the wall plate posts and slide
the unit down firmly into
place.
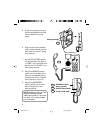
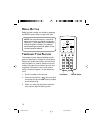
6. Plug one end of the handset
cord into the handset and the
other end into the unit. Hang
up the phone.
7. Set the PULSE/TONE switch
on the left side of the phone
to TONE if you use touch-tone
service; set it to PULSE if you
have rotary service.
Mounting holes
5
MEMORY LOG
1
6
38
49
50
27
SKIP
ANS. ON
MEMO
PLAY
• STOP
ERASE
ANNOUNCE
MICBATT LOW
FLASH
REDIAL
STORE
MEMORY DIAL
REVIEW
123
45
6
78
9
0
*
#
ABC
DEF
GHI JKL MNO
PQRS TUV WXYZ
OPER
MESSAGES
ANSWER ON
6
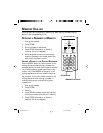
8. Adjust the RINGER volume
switch on the left side of the
phone to the desired setting
(the phone will only ring with
the ringer set to LO or HI).
9. Adjust the ANSWERER
volume switch on the right
side of the phone to the
desired setting.
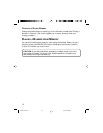
NOTE: Make sure that you have
inserted the battery before
installing the phone. If you have
not, see p. 3 for battery installa-
tion information.
RINGER
OFF LO HI
PULSE TONE
ANSWERER volume
switch (right side)
RINGER volume switch
PULSE/TONE switch
7
8
9
2-9827 US IB E 2 1/31/98, 6:52 PM6


