


33
G
32
G
9. Trouble-Shooting
Fault Possible Cause Remedy
Radio Receiver cannot be The batteries are not installed v Install the batteries as de-
registered correctly in the battery compart- scribed in the Radio Re-
ment. ceiver operating instructions.
The unit reset itself A brief power cut occurred v Install batteries (see
while you were operating the 7.1 Putting Your Central
Central Radio Control Unit Radio Control Unit into
without batteries. Operation).
The active channels are The Central Radio Control Unit v Change the Central Radio
not displayed displays the Sensor screen. Control Unit to the Channel
screen (see 8.11 Channel
and Sensor Screen).
No display Power pack not connected v Connect power pack to
to mains. mains.
No battery fitted or battery flat. v Install battery (refer to
7.1.
Putting the Central
Radio Control Unit into
Operation
).
Outside temperature below v Wait until outside tempera-
–10°C or above + 50°C. ture returns to operating
temperature range.
Battery flat after operating Batteries are not alkaline v Use 1.5-volt alkaline AA
Central Radio Control Unit batteries. batteries.
for short period of time
Power pack not connected v Connect power pack to
to mains. mains.
Error during data transfer Radio Receiver/Switch not v Connect Radio Receiver/
connected or not connected Switch correctly.
correctly.
ERROR flashes on the display Poor radio reception. v Reduce distance to receiver.
(data transfer error)
and channel flash Low battery power in Radio v Replace battery in Radio
on the display Receiver. Receiver.
v Please also refer to the Trouble-Shooting table for the
Irrigation Valves and Radio Receivers.
If other faults occur, please contact GARDENA Customer Service.
10. Putting Out of Operation
v Remove the valves from the valve boxes and store in a place
away from frost before the first frost sets in.
v Remove the batteries from the Radio Receivers and close the
battery cover properly.
This prevents water from penetrating the Radio Receivers.
Only dispose of batteries when flat.
v Please dispose of used batteries properly at the appropriate
communal waste disposal site.
Wintering:
Putting the System
out of Operation:
Important
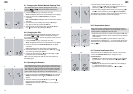
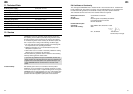
8.12 Testing the Receiver and Sensor Status
1. Press the Test key (e.g. using the tip of a ball-point pen).
TEST
is displayed and
V
flashes on the display in front of
the first registered receiver. (The channels of the receiver
flash until radio contact is established.)
2. Select the receiver using the ▲-▼ keys (e.g. V 6 to V 9)
and confirm by pressing the OK key.
The following Receiver stati are displayed:
• Radio signal strength (radio mast symbol, see 3.
Key Functions
and Display
)
• Battery voltage (e.g.
5588
= 5.8 V)
(The battery should be replaced if the battery voltage is < 4.5 V.)
• Receiver temperature (e.g.
2255
°C)
• Receiver number (e.g.
227788
)
The following sensor stati are displayed:
• Sensor connected and detects “moisture”:
■ symbol displayed
(e.g. sensors 1 and 4 = ■ 1 and ■ 4)
• Sensor not connected: ■ off
(e.g. sensors 3, 6, 7 and 9 = 3, 6, 7 and 9)
• Only for Soil Moisture Sensor Art. 1187:
connected and dry: ■ flashes
(e.g. sensor 8 dry = ■8 flashes)
“Connected” and “dry” are not displayed with the Rain Sensor
electronic Art. 1189 (■ off).
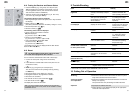
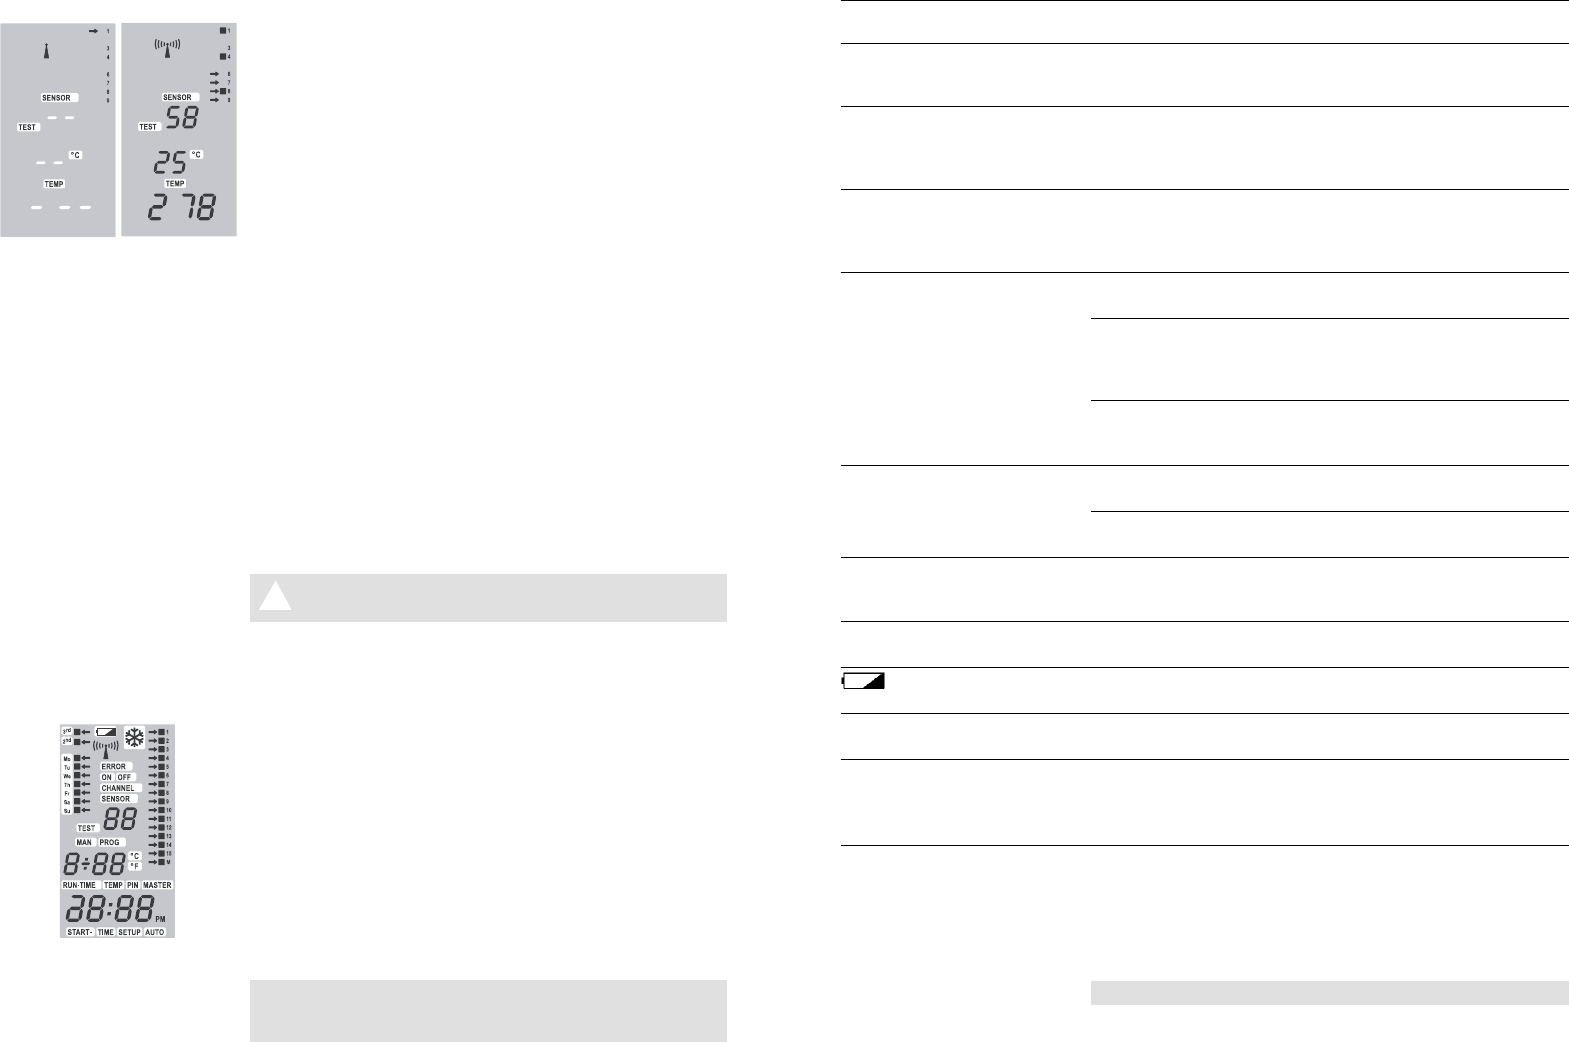
8.13 Reset
The Central Radio Control Unit is reset to its initial
A state and all programme data is deleted.
You can reset the Central Radio Control Unit in three ways:
1. Connect to mains (when using unit for the first time)
– or –
2. Insert batteries in Central Radio Control Unit (when not con-
nected to the mains)
– or –
3. Reset key (e.g. using the tip of a ball-point pen.)
The unit can be reset from all operating levels by pressing
the Reset key.
• All symbols appear on the display for 2 seconds.
• All programme data for all programmes is deleted.
• All receivers are cancelled.
• The manual run time is set to 30 minutes (
00
::
3300
).
• The PIN number is reset to
000000
.
The display then shows the time level.
Tip: If you have questions about operating and programming
the Central Radio Control Unit, please do not hesitate to contact
GARDENA Service.
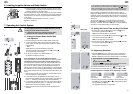
1. 2.