


31
Telephone operation
Call transfer using intercom
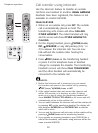
Call transfer with three or more registered
handsets (Option for accessory handset(s))
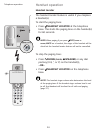
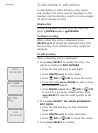
1. While on an outside call, press INT. The outside
call is automatically placed on hold and
TRANSFER TO: is displayed on the screen.
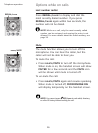
2. Enter a handset number, 1-9 or *0-*2. The
transferring set’s screen will show CALLING
HANDSET X. The called handset will ring, and its
screen will show HANDSET X IS CALLING.
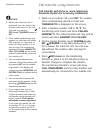
3. On the ringing handset, press PHONE/FLASH,
INT, SPEAKER, or any dial pad key (0-9, * or
#) to answer the intercom call. You can now
talk without the outside caller hearing the
conversation.
4. Press OFF/CLEAR on the transferring
handset or place it in the telephone base or
handset charger to complete the transfer.
The transferring handset’s screen will show
CALL TRANSFERED and the other handset will
automatically be connected to the outside call.
NOTES:
1. Before the intercom call is
answered, you can cancel the
transfer and return to the out-
side call by pressing
OFF/CLEAR, PHONE/FLASH, or
INT.
2. If the called handset does not
answer the intercom call within
100 seconds, is in directory or
caller ID history mode or is or
out of range, the transferring
handset will show UNABLE TO
CALL TRY AGAIN on its screen
and will automatically return to
the outside call.
3. You can switch between the
intercom call and the outside call
by pressing INT on the transfer-
ring handset. The display will
change between INTERCOM and
OUTSIDE CALL to indicate which
call is active.
4. You can end the intercom call
and return to the outside call by
pressing PHONE/FLASH on the
transferring handset.
5. If you register two or more
accessory handsets (for a total
of three or more), the feature of
call transfer using intercom will
be the same as Call transfer
with three or more registered.
If you want to transfer the call
to handset 10, 11 or 12, enter
the handset number as *0, *1
or *2 respectively on the calling
handset.