7
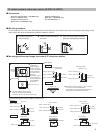
Color monitor IP master station (IS-IPMV)
For the part names and their functions, see the OPERATION MANUAL.
*
■
Accessories
Mounting bracket × 1 Screw (15mm (5/8"), for wall-mounting) × 4
Desktop stand × 1 Screw (25mm (1"), for gang box) × 4
Tie-wrap × 1 Screw (10mm (7/16"), for desktop stand) × 4
Name plate × 1 Installation manual (a booklet in English) × 1
Name card × 1 CD-ROM (Installation manual, Setting manual and Operation manual) × 1
China RoHS paper × 1
■
Mounting
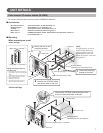
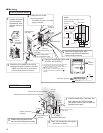
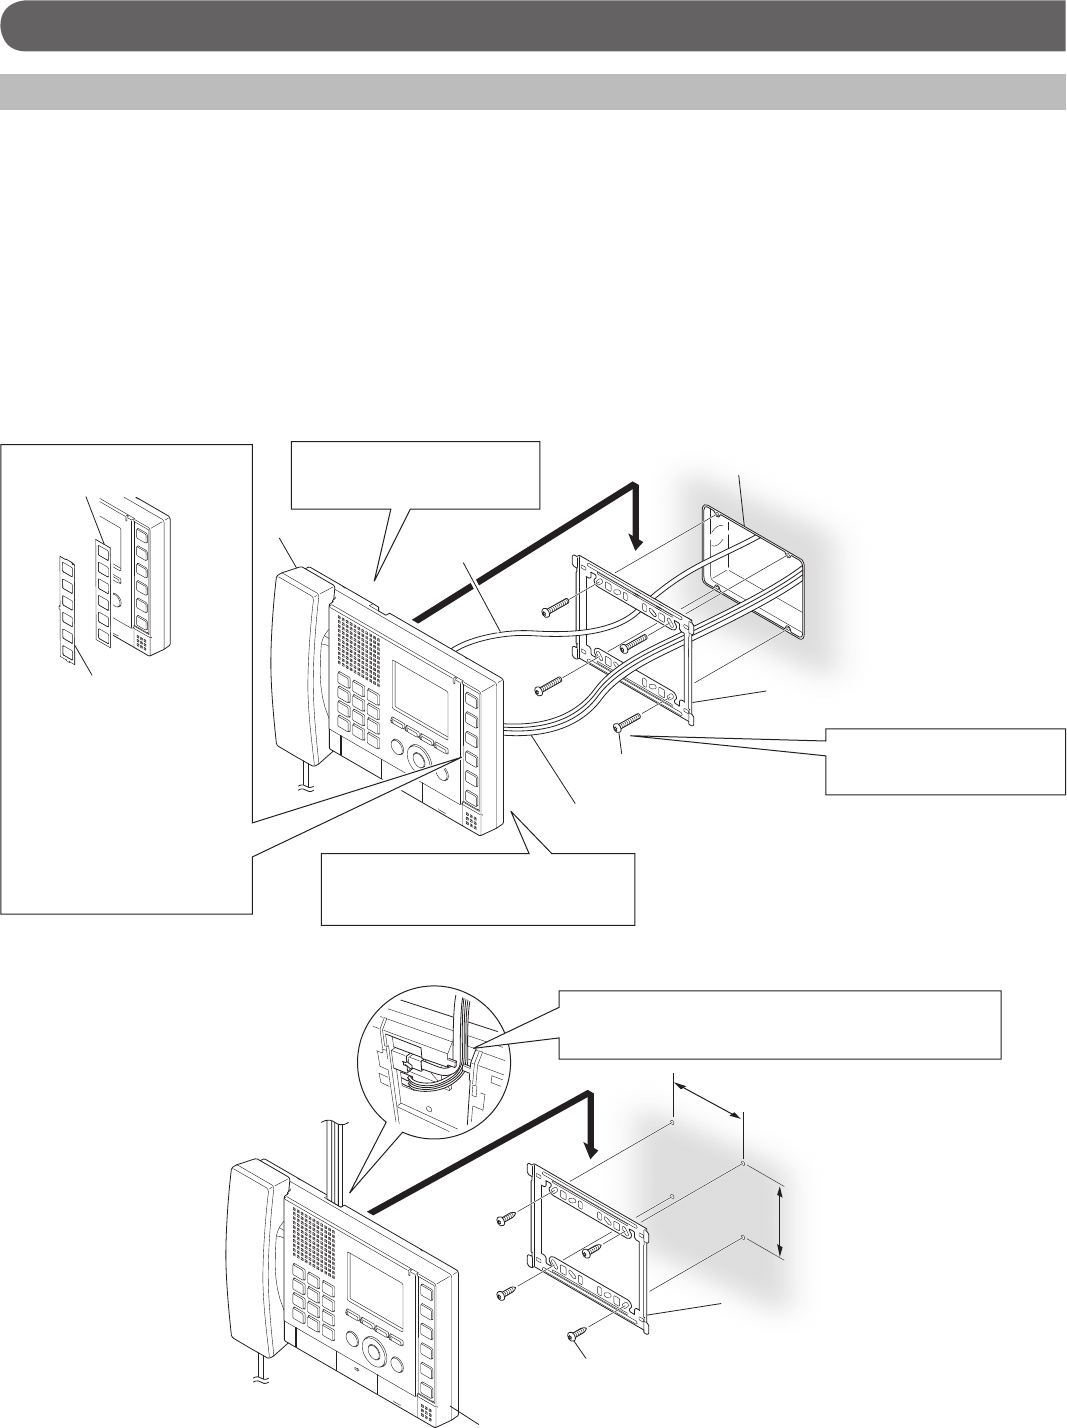
When mounting on a wall
<Back wiring>
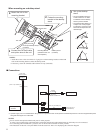
<Surface wiring>
UNIT DETAILS
Mounting bracket
(attached to the unit with shipment)
Mounting bracket
(attached to the unit with shipment)
3-gang box
The unit
Screw (for gang box) × 4 (included)
Option wires (and power wires)
CAT5e/6 cable
83.5mm (3-5/16")
92mm (3-5/8")
NOTE:
A single-gang box can also be
used for wiring. When using
a single-gang box, fasten the
mounting bracket to the wall
directly by using the screw holes
for 3-gang box.
Screw (for wall-mounting) × 4 (included)
The unit
Fasten the mounting
1
bracket to the wall.
Connect the CAT5e/6 cable
2
and option wires to the unit.
Mount the unit on the
3
mounting bracket.
Connect the CAT5e/6 cable and option wires
to the unit and route them as shown.
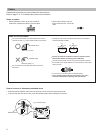
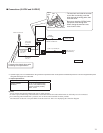
Filling in the target names on
the name card
1
Remove the transparent name plate by
pushing either upper or lower side of the
plate.
*
Remove the name card if necessary.
2
Fill in the target names on the white
space of the name card.
3
Replace the name plate.
*
2
:
The name plate and name card are
attached to the unit with shipment.
Name card × 1 (included*
2
)
Name plate × 1 (included*
2
)


