


1
2
3
4
Where to store
Blocked feed impeller
Pay attention to
minimum water depth
Installing
the pump:
Adjusting fountain:
Starting the pump
Water
Bell Cascade
19
G
18
G
Adaptable lamps
Remote control
Information
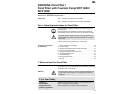
3. Applications:
Examples – System extensions – Product Recommendations
➔ Example for application:
Underwater lighting of water jets and pond edges.
➔ Products:
GARDENA Underwater Light Art. No. 7951
GARDENA
lightline
Transformers
➔ Example for application:
For operating water jets from the comfort of your patio or
your living room.
➔ Products:
GARDENA Remote Control Set Art. No. 7874
GARDENA Remote Control Socket Art. No. 7875
.
Always unplug the pump first before working on it.
.
Follow the Safety and Assembly Information attached to the
operating instructions.
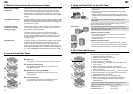
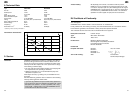
4. Using the Pump for the First Time
Please note the maximum submersion depth (see “Technical Data”).
1. Place the pump in the tank.
2. Position the pump on a firm surface so that the upper edge
of the basket is completely covered by water.
3. Screw the fountain onto the throttle valve.
4. Screw the fountain with throttle valve onto the pump.
1. Screw the fountain insert you want to install (either Water Bell
or Cascade) into fountain.
2. Screw throttle valve on pump anti-clockwise (approx. one turn)
until fountain is adjusted to correct position.
3. Only if installing Water Bell:
Screw Water Bell fountain insert into fountain until Waterbell
creates the shape you want.
Connect the power cable to a 230 V AC socket.
A Caution! Pump will start running immediately!
Avoid dry operation of the pump as dry running will produce
undesirable heat and destroy the pump.
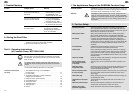
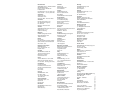
5. Pump Maintenance
The tank and pump must be free of dirt.
1. Unplug the pump from the mains.
2. Remove the pump from the water.
3. Rinse the pump and tank with a jet of water.
Information: Do not use any hard objects or strong detergents!
1. Unplug the pump from the mains.
2. Remove the pump from the water.
3. Unscrew the hose clockwise from the threaded adapter.
4. Raise the pump slightly, twist and remove upwards.
5. Screw the pump housing
1
anticlockwise as far as it
will go and remove (do not tilt).
6. Pull the rotating unit
2
out of the motor housing
4
.
7. Remove all dirt deposits from the parts of the pump.
8. Insert the seal
3
into the groove of the motor housing
4
.
9. Push the rotating unit
2
back into the motor housing
4
.
10. Fit the pump housing
1
ensur-
ing that the threaded adapter
is in a horizontal position and
then screw the housing down
(pay attention to the markings).
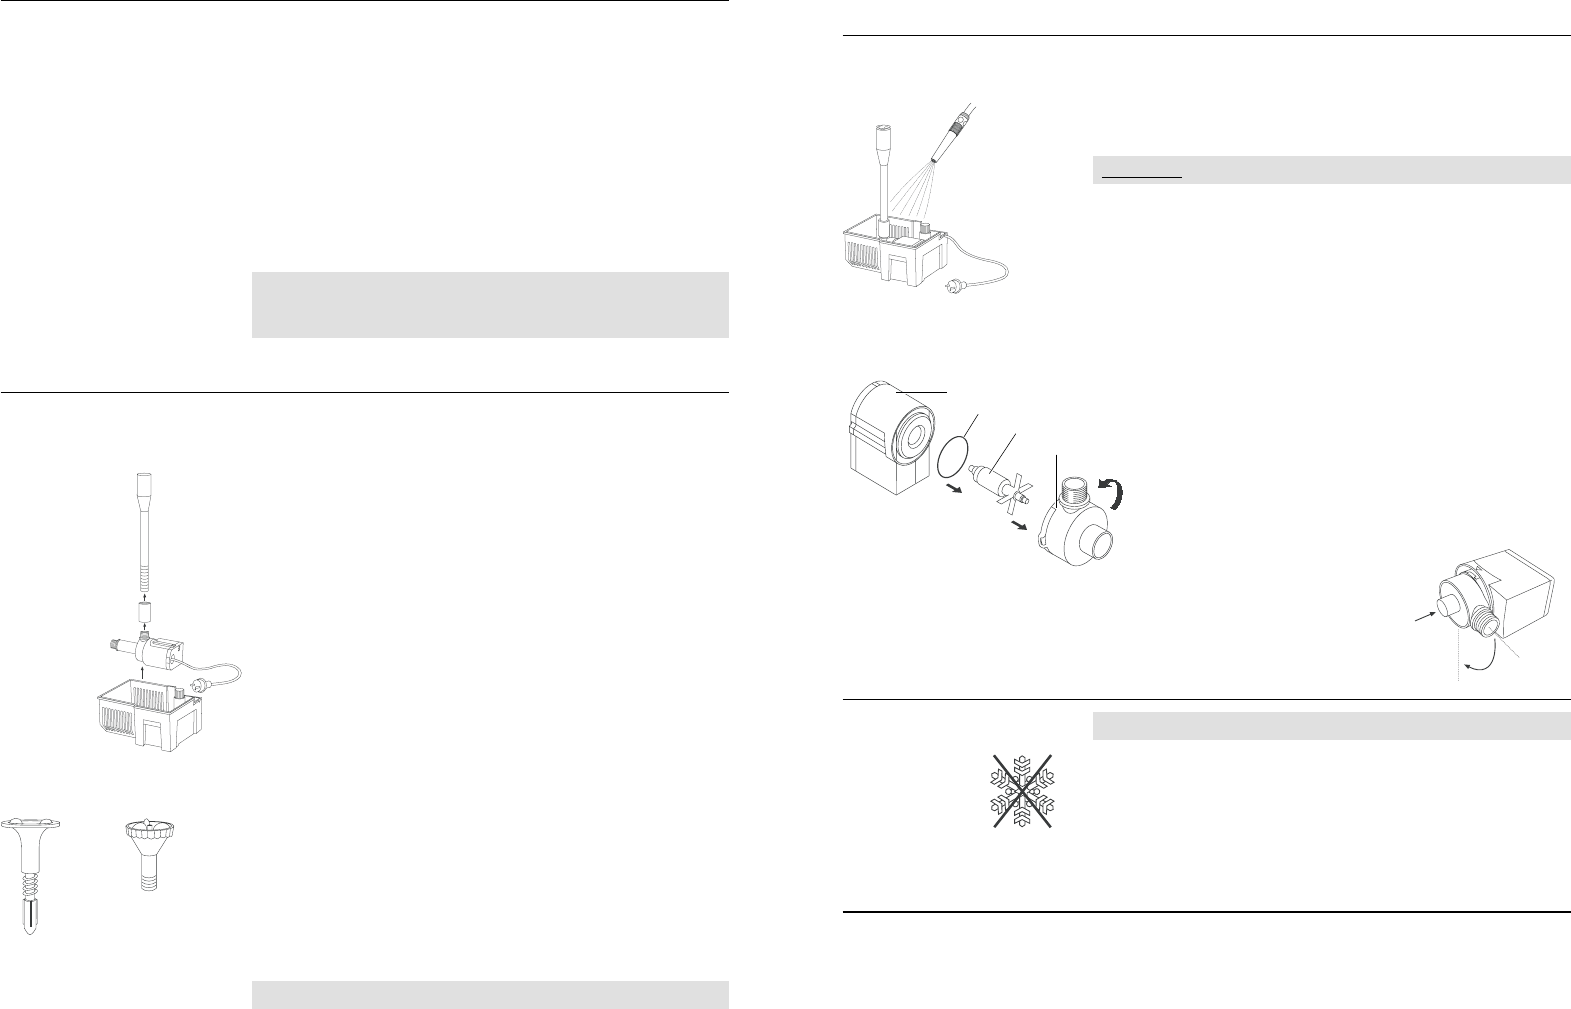
6. Storing the Pump
A The pump should be stored out of the reach of children.
1. Remove the pump from the pond and store away from frost
before the first frost sets in.
2. Clean and check the pump carefully.
3. Store the pump in a container filled with water.
The mains plug must not be submerged.
7. Trouble-Shooting
If the feed impeller becomes blocked, the pump and the filter
should be cleaned (see “Pump Maintenance”).
If you have any problems with your Pump, please contact our
Service.
Cleaning the pump
and tank:
Removing dirt deposits
from the pump:
Avoid dry operation