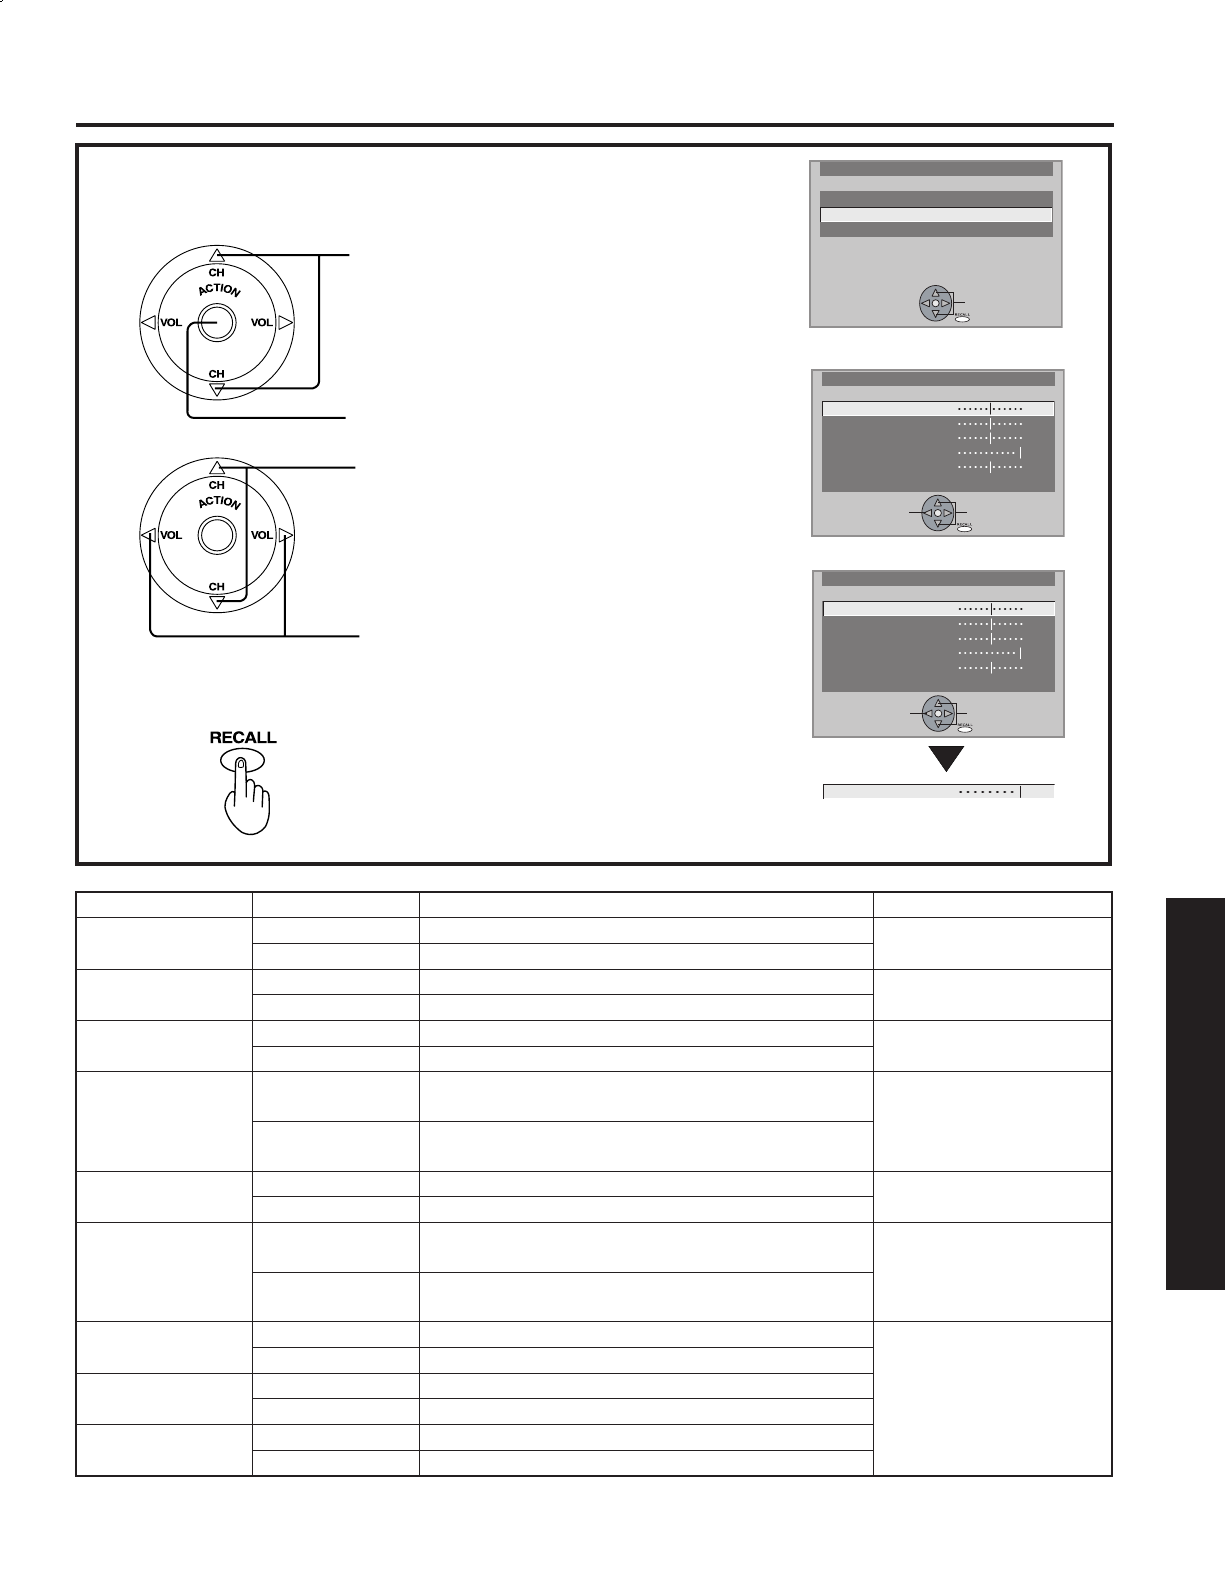
Adjust to desired level while viewing picture
through the menu overlay.
2
Press to select PICTURE ADJUST.
Press to display PICTURE ADJUST
screen.
Press to select the menu to set each item.
3
1
Repeat step 1 on page 46.
Press to exit menu.
4
RGB/DIGITAL IN input
NORMAL returns all items to factory defaults. Also, returns
COLOR TEMP (p. 46) to NORMAL.
Picture Adjustments
Adjustment item Button Adjustment Details Remarks
COLOR
Press ► button. The color becomes deeper.
Except RGB/DIGITAL IN
Press ◄ button. The color becomes paler.
TINT
Press ► button. Flesh tones become greenish.
Except RGB/DIGITAL IN
Press ◄ button. Flesh tones become reddish.
BRIGHT NESS
Press ► button. The screen becomes brighter.
Press ◄ button. The screen becomes darker.
PICTURE
Press ► button.
Picture intensity becomes stronger as both
contrast and color levels are adjusted.
Except RGB/DIGITAL IN
Press ◄ button.
Picture intensity becomes weaker as both contrast
and color levels are adjusted.
SHARPNESS
Press ► button. The picture quality becomes sharper.
Except RGB/DIGITAL IN
Press ◄ button. The picture quality becomes softer.
CONTRAST
Press ► button.
Only the Highlights of the image become brighter,
adding Contrast.
RGB/DIGITAL IN only
Press ◄ button.
The Highlights become less bright, diminishing
Contrast.
R LEVEL
Press ► button. The red component becomes stronger.
RGB/DIGITAL IN only
Press ◄ button. The red component becomes weaker.
G LEVEL
Press ► button. The green component becomes stronger.
Press ◄ button. The green component becomes weaker.
B LEVEL
Press ► button. The blue component becomes stronger.
Press ◄ button. The blue component becomes weaker.
PICTURE ADJUST
COLOR
TINT
BRIGHTNESS
PICTURE
SHARPNESS
NORMAL
ADJUST SELECT
EXIT
PICTURE
PICTURE MENU :NORMAL
PICTURE ADJUST
COLOR TEMP :NORMAL
SELECT
EXIT
PICTURE ADJUST
BRIGHTNESS
CONTRAST
R LEVEL
G LEVEL
B LEVEL
NORMAL
ADJUST SELECT
EXIT
