


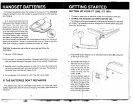
6.
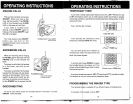
CHECK FOR A DIAL TONE.
After the batteries are charged, rotate the base unit antenna to an upright
position.Next, pick up the handset and press the
ONIOFF
key. The
PHONE
LED
should light up, and you should hear a dial tone.
If
not, see
IN CASE
OF DIFFICULTIES.
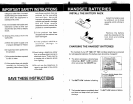
CAUTION:
1.
Never install telephone wiring during a lightning storm.
2.
Never install telephone jacks in a wet location unless the jack is specifically
designed for a wet location.
3.
Never touch uninsulated telephone wires or terminals unless the
telephone line has been disconnected at the network interface.
4.
Use caution when installing or modifying telephone lines.
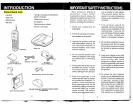
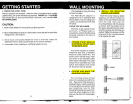
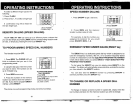
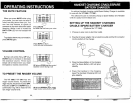
Wall Installation Using Mounting
Screws Provided.
The Wall Mount adaptor is
designed to fit on standard Wall
Mount plates.
If
you are using such
a plate, you should start with step
#4
below.
TOOLS YOU WILL NEED
:
A hammer, a nail, a pencil or ball-
point pen, a Phillips head
(+)
screwdriver, and the Wall Mounting
Template included in the back of
this booklet.
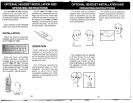
1.
CHOOSE A SPOT NEAR AN
ELECTRICAL OUTLET AND A
TELEPHONE. JACK.
Your phone requires a modular
telephone jack and a standard
electrical outlet
(120V
AC).
The
power cord is six feet long; make
sure there is an electrical outlet
within reach of the base. The outlet
should not be controlled by a wall
switch. If the switch is ever turned
off, the phone will not operate.
2.
CHOOSE AND MARK THE
MOUNTING POSITION.
The mounting screws should
screw into a wooden stud within the
wall -they will not hold securely in
wallboard alone. Locate a wall stud
in the area where you want to install
your telephone. Use the Wall
Mounting Template and a pencil to
mark the screw positions on the
wall over the stud. Put the template
aside.
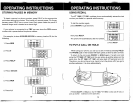
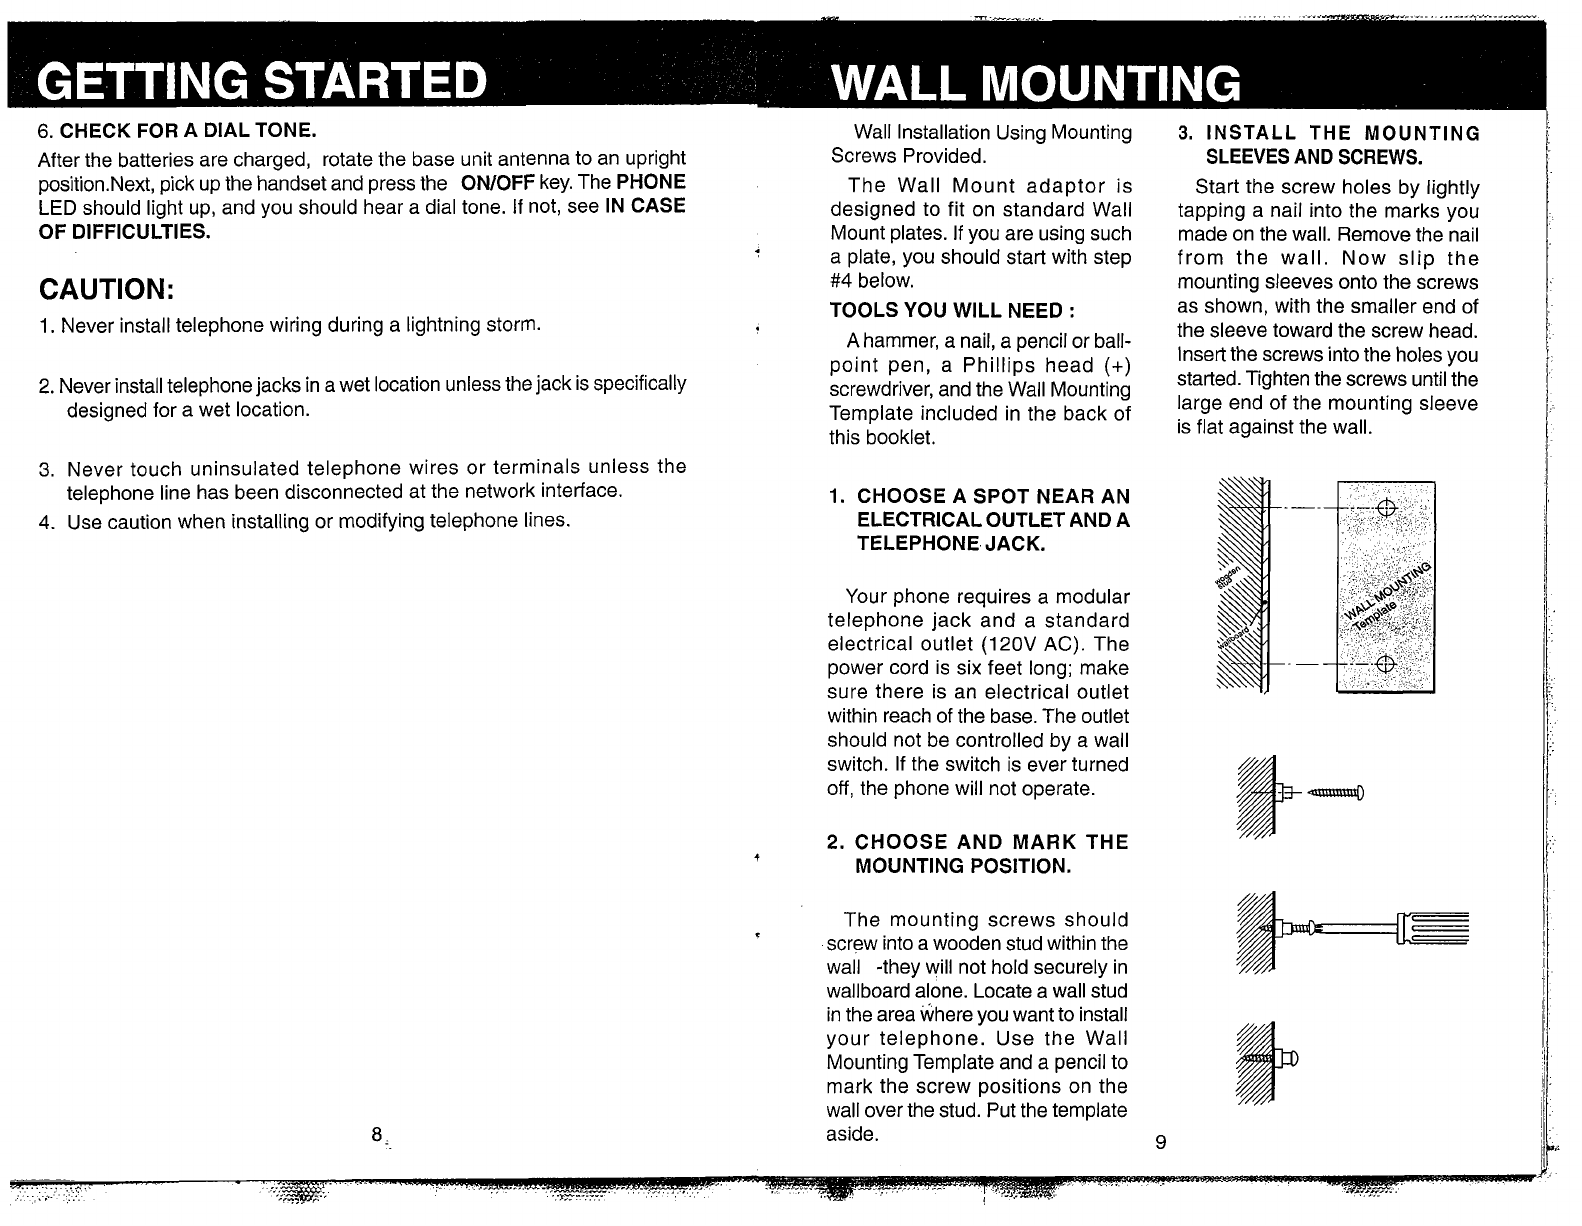
3.
INSTALL THE MOUNTING
SLEEVES
AND
SCREWS.
Start the screw holes by lightly
tapping a nail into the marks you
made on the wall. Remove the nail
from the wall. Now slip the
mounting sleeves onto the screws
as shown, with the smaller end of
the sleeve toward the screw head.
Insert the screws into the holes you
started. Tighten the screws until the
large end of the mounting sleeve
is flat against the wall.