


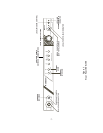
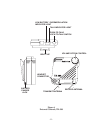
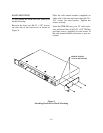
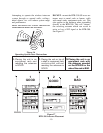
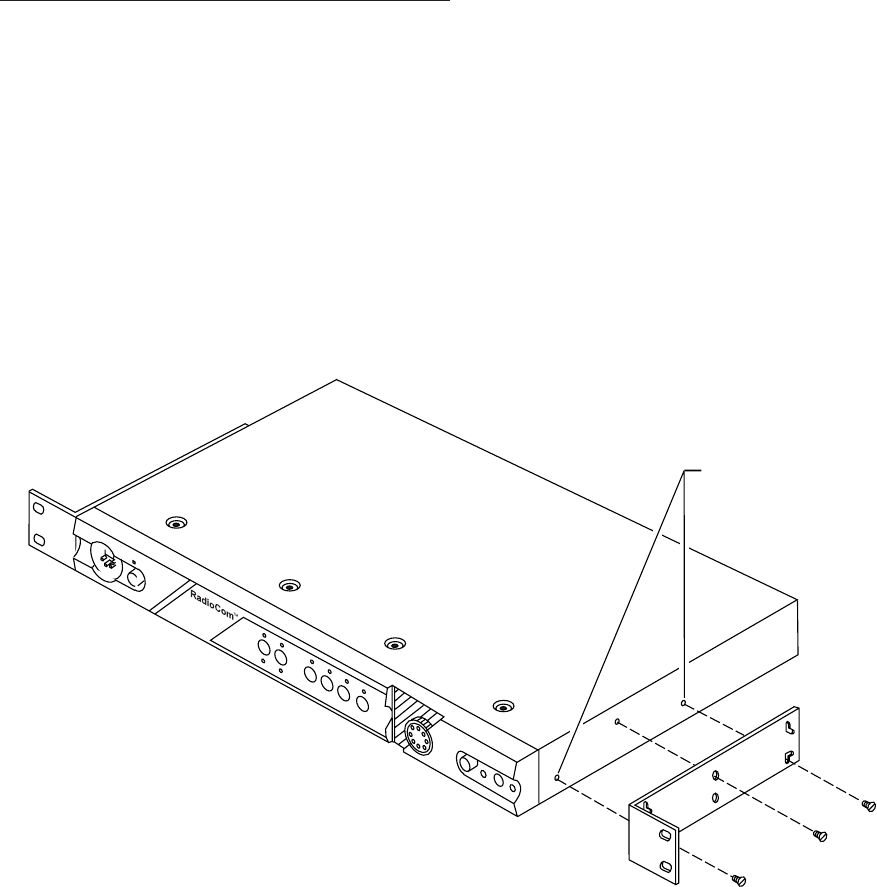
RACK MOUNTING
To rack mount the BTR-300 base transceiver
do the following:
Remove the front two #6-32 x 3/8” screws
on each side of the transceiver as shown in
Figure 9.
Place the rack mount brackets (supplied) on
either side of the unit and insert three #6-32 x
3/8” screws for each bracket. Tighten the
screws securely.
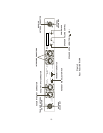
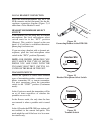
Insert the BTR-300 into your 19” rack enclo-
sure and insert four (4) #10-32 x 3/8” Phillips
pan head screws (supplied) in each corner of
the rack mount brackets and secure to your en-
closure.
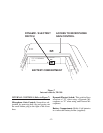
Figure 9
Attaching Brackets for Rack Mounting
-15-
REMOVE SCREWS
(TYPICAL BOTH SIDES)
B
T
R
-
3
0
0