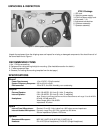
Figure 3 - Customer and operator assemblies.
Figure 4 - Mounting template.
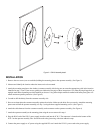
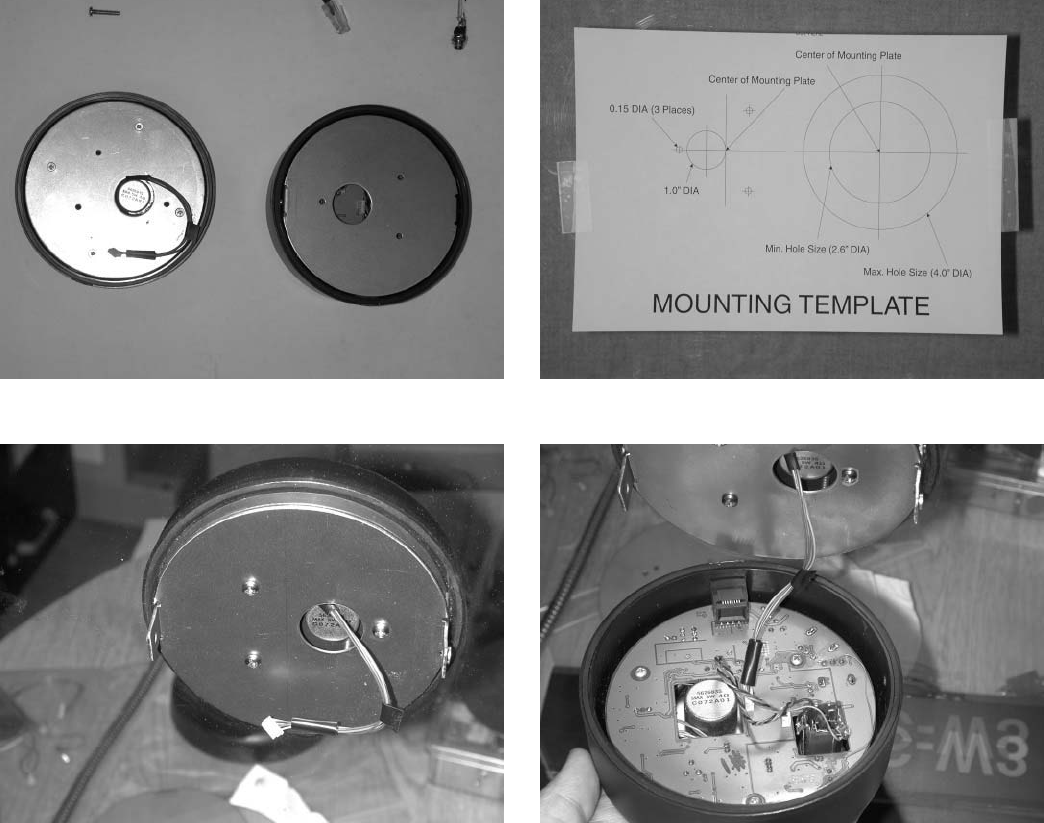
Figure 5 - Customer side mounted. Figure 6 - Connecting customer and operator assemblies prior
to final mounting.
VOX CIRCUIT ADJUSTMENT
1. Locate the two VOX pots: VOX1 and VOX2. They are located on the operator assembly side of the unit.
2. Set VOX1 (top hole) all the way clockwise. Set VOX2 (bottom hole) all the way clockwise.
3. Locate the customer and operator volume controls. They are located on the operator side of the unit. Set each of them to the
middle of their adjustment range.
4. Have an assistant talk on the outside microphone and using the included screwdriver adjust VOX1 (top hole) so that the VOX
just triggers and you can hear the customer microphone on the headphones or speaker on the operator side. Then turn the pot
just a little further.
5. Talk on the gooseneck microphone or headset microphone on the operator side and using the included screw driver adjust
VOX2 (bottom hole) so that the VOX just triggers and you can be heard by your assistnat on the speaker on the customer side.
Then turn the pot just a little further
6. Talk back and forth and adjust VOX1 (top hole) and VOX2 (bottom hole) very carefully to get the proper VOX switching
action. Be sure to talk directly into the microphones because they are close talking.
Note: The unit is shipped from the factory with the VOX circuit pre-adjusted. Use this procedure only if you encounter a
problem where the VOX circuit does not properly switch between the operator and customer when they are talking. In
some situations, particularly when ambient noise levels vary over time, it may be necessary to “touch up” the VOX
adjustments.


