


FLX & Panasonic Technical Note
5 | Page
Registering the FLX with the Panasonic PBX
You can use either the FLX handset or the FLX web UI to register the FLX with the Panasonic PBX. We are
showing how to do it with the web interface.
1. IP address of the FLX.
a. If you are using DHCP in your environment, the FLX automatically receives an IP address.
From the FLX handset, choose Menu and “System Info” (the symbol with the “i”) and
select “About System”. The IP address (static or via DHCP) of your FLX is shown.
b. If you are using static IP, on the FLX handset chose “Setup” (the wrench symbol),
“Advanced Setup”, enter the administrator password (default password is “7386””),
enter “Network Settings”. Change “DHCP ON” to “DHCP OFF”. Then enter “IP
Settings”. In this menu you can enter the IP address, Subnet Mask, and other relevant
information. Once you have entered all information, select “Return”, and in the
Network Settings menu select “Load Settings. This will restart your phone with the new
network settings.
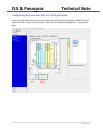
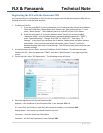
2. In a web browser of your choice, enter the IP address of the FLX phone. This will open the web
interface for FLX. Enter the password (“7386”), and select “Administrator” in the right top of the
screen.
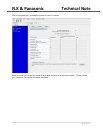
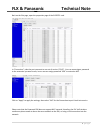
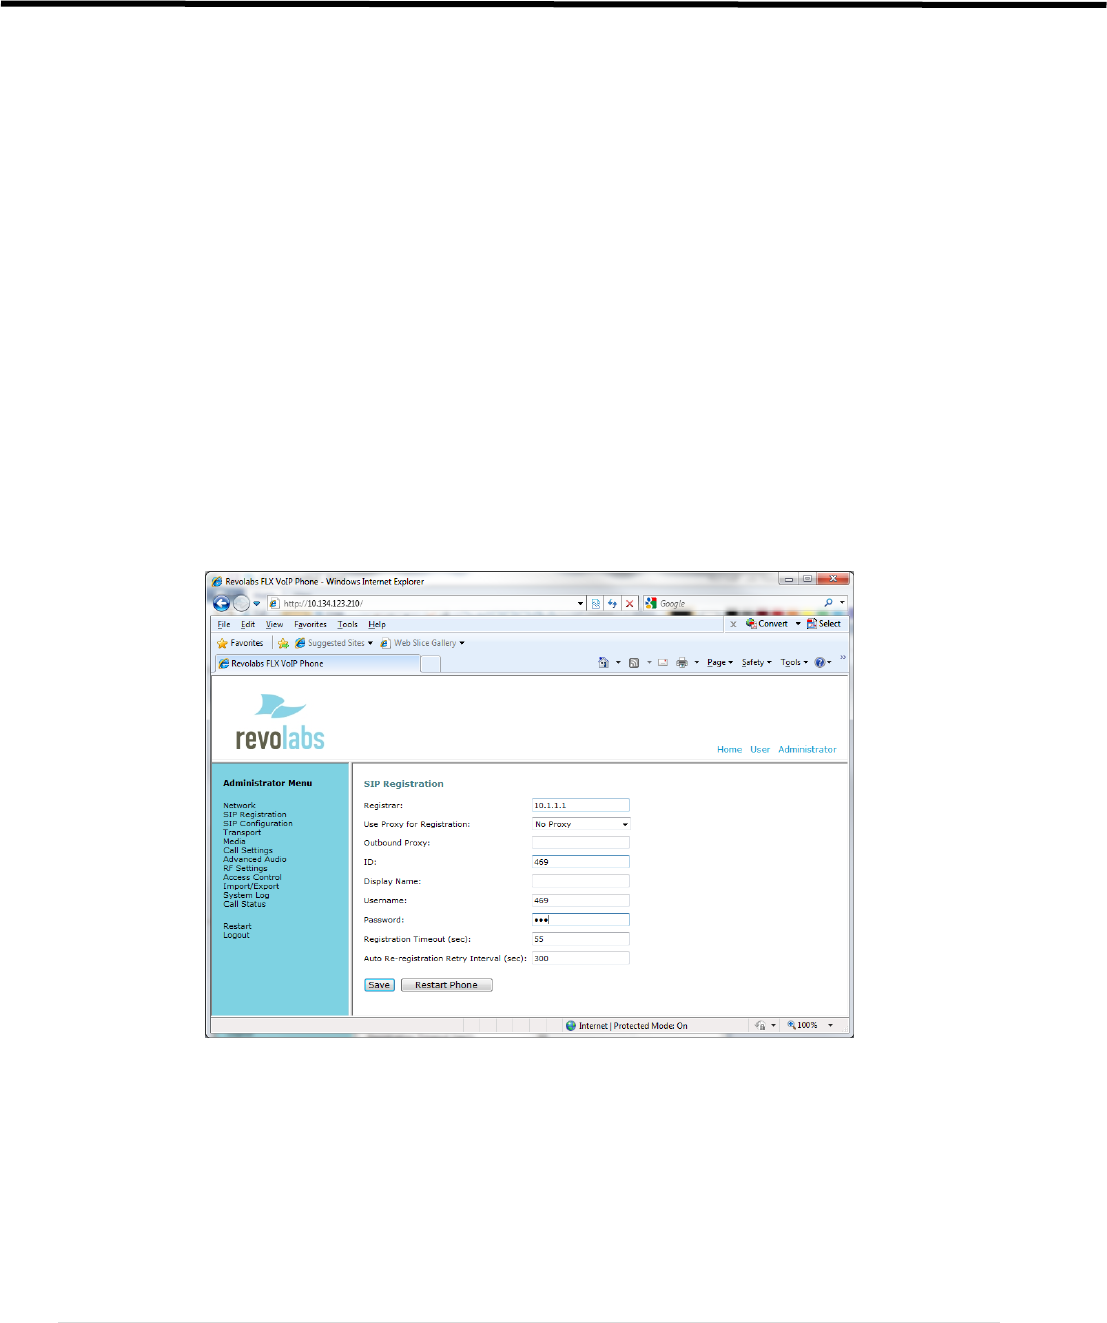
3. On the left side, select “SIP Registration”. The following screen will show:
4. Enter the registration info for the Panasonic PBX:
Registrar – the IP address of your Panasonic PBX, in our example 10.1.1.1
ID – User ID for the End User, most likely the extension number, in our example 469
Display Name – this can be any friendly name for the user
Username – enter the same User ID as above
Password – the End User’s password, in our example 469.