


Set the
RINGER
to
OFF
,
LOW
or
HIGH
. You can make calls with
the ringer off, and you can
receive calls if you hear another
If you have pulse service,
press
*
/TONE
to dial num-
bers as tone signals. The
phone returns to pulse dial-
ing when you hang up.
The headset jack ( )lets you con-
nect an optional headset, so you
can step away within the cord’s
reach to do another job (available
from RadioShack).
To connect a headset, insert the
headset’s
3
/
32
-inch (2.5-mm) plug
into .
Press
FLASH
for a timed switchhook signal
for special services, like Call Waiting.
Note:
If you do not subscribe to any special
services, pressing
FLASH
might disconnect
the call.
Press to
disconnect
a call.
Lift out the memory
index card and
record important
phone numbers.
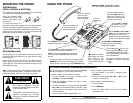
Plug the handset cord
into the jacks on the
handset and base.
You can store up to 13 numbers (three priority –
M1
,
M2
,
M3
, and 10 standard – one for each number key).
To store a number (up to 16 digits) in memory:
1. Lift the handset. If you wear a headset, press
HEADSET
. Then press
STORE
.
2. Enter the telephone number you want to store.
Then press
STORE
.
3. To store a number in a priority memory, press
M1
,
M2
, or
M3
. For standard memories, enter the 1-digit
number (
0
–
9
) for the location where you want to
store the number.
4. To store more numbers, repeat Steps 1–3.
To dial a number in a priority memory:
1. Lift the handset. If you wear a headset, press
HEADSET
.
2. Press the priority button (
M1
,
M2
, or
M3
) for the
number you want to call.
To dial a number in standard memory:
1. Lift the handset.
2. Press
MEMORY
.
3. Enter the 1-digit location number for the number
you want to call.
1999 Tandy Corporation.
All Rights Reserved.
RadioShack is a registered trademark used by Tandy Corporation.
Set to
TONE
or
PULSE
according to the type
of service you have.
Set
VOLUME
LOW
/
MED
/
HIGH
to adjust the volume you hear
through the handset.
The headset indicator
lights when you make
and receive a call
using a headset, and
turns off when you end
a call.
To make or answer a call using a headset, press
HEADSET
. Then (if you are making a call), dial the
phone number. To end a call, press
HEADSET
again.
Press
REDIAL
to dial the last
number dialed (up to 31 digits).
MEMORY
,
STORE
, and
M1
,
M2
, and
M3
—
See “Storing/Dialing Numbers in Memory.”
Set the
RINGER
to
OFF
,
LOW
or
HIGH
. You can make calls with
the ringer off, and you can
receive calls if you hear another
phone on the same line ringing.
STORING/DIALING NUMBERS IN MEMORY
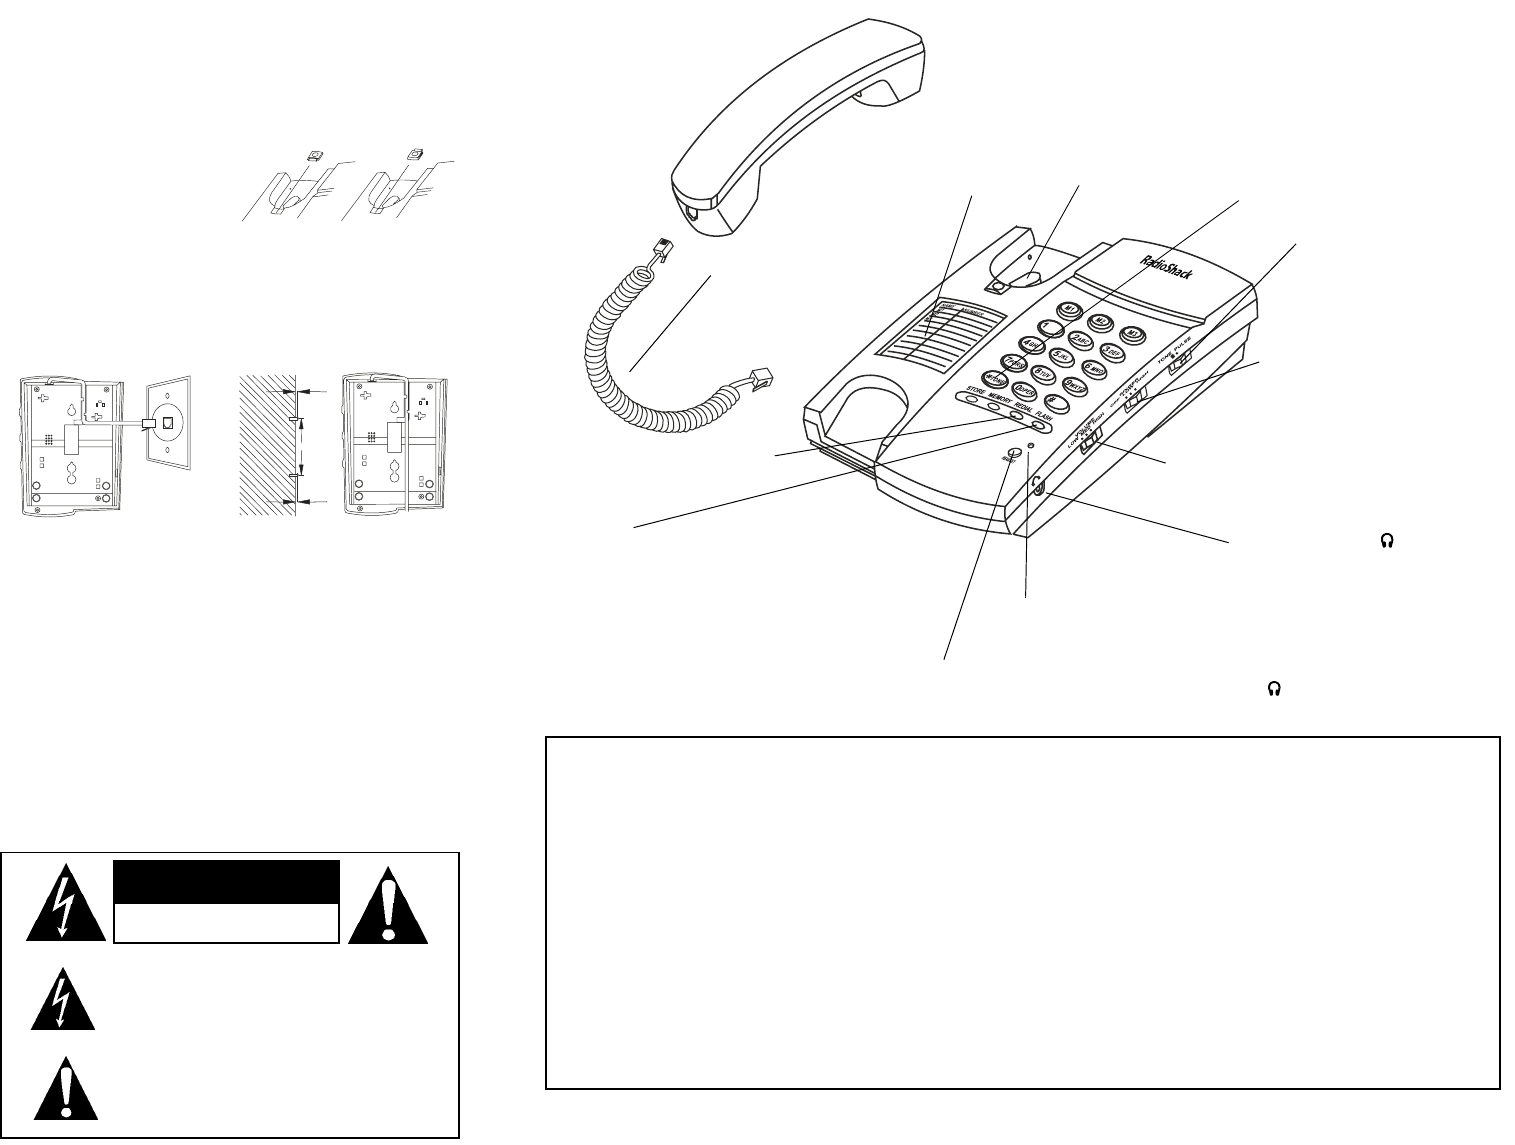
This symbol is intended to alert you
that parts inside the telephone present
a risk of electric shock.
This symbol is intended to alert you to
important operating and servicing
instructions included in the papers with
the telephone.
CAUTION
RISK OF ELECTRIC SHOCK.
DO NOT OPEN.
Note:
The phone company can charge you for the instal-
lation of the necessary jacks. The USOC number of the
jack to be installed is RJ11C (RJ11W for a wall jack).
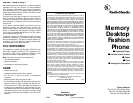
Wall Mounting
(With or Without a Wall Plate)
The mounting bracket comes attached to the lower base
of the phone for immediate wall mounting.
Adjust the handset holder
by sliding the clip up. Then
rotate it and slide it back
into the slot.
To mount the phone on a
wall plate
, connect the supplied short cord to the phone’s
line jack and route it through the groove on the base.
To mount the phone without a wall plate
, connect the sup-
plied long cord. Then use two
3
/
16
-inch (5 mm) screws (not
supplied) to mount the phone on the wall.
Desktop Mounting
To place the phone on a flat surface, remove the mounting
bracket by sliding the bracket to the right and then away
from the phone.
Insert the tab on the wide end of the bracket into the
base’s upper left slot, and the other tab into the base’s
upper right slot. Then slide the bracket to the right to snap
the bracket into place.
Mounting with a Wall Plate
Mounting without a Wall Plate
3
15
/
16
Inches
(100 mm)
MOUNTING THE PHONE
USING THE PHONE