


16
Distinctive Ringing / Call Treatment
Users can set distinctive incoming ringing tones for
contacts in their local directory. This allows identica-
tion of a contact by a specic ring tone.
This feature is local to the telephone,
and may be over-ridden by Server set-
tings. Contact your System Administra-
tor for more details.
To set a distinctive ring for a local contact:
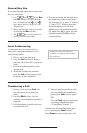
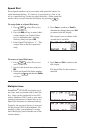
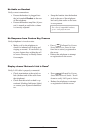
1. Press
Hold
Del
Sel
Conference
1 3
DEF
5
JKL
4
GHI
6
MNO
8
TUV
7
PQRS
9
WXYZ
0
OPER
*
#
2
ABC
Hold
Del
Sel
Directories
Services
Call Lists
Buddy Status
My Status
Redial
Menu
Messages
Do Not Disturb
ABC
21
DEF
3
54
MNOJKLGHI
6
TUV
87
WXYZ
9
OPER
PQRS
0
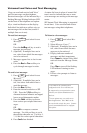
, select Directories
and Contact List.
2. Using the arrow keys, scroll through
the directory to choose a contact.
3. Press Edit and scroll down using the
Next soft key to Ring Type.
4. Enter a number corresponding to
one of the ring types available (press
then the Delete soft key to
remove an existing value).
Presence / Status / Buddy Lists
5. Press the Save soft key or Cancel
to abandon the change.
Incoming calls from this contact
will now have the distinctive
ringing pattern applied.
See Ring Type in this guide for
further details.
The telephone combines interactive
message services and status monitoring
to complement a traditional messaging
application such as email.
Live interaction within a pool of tele-
phones is possible by monitoring the
“presence” of the parties involved.
Each telephone can “watch” the status of
up to eight other telephones. These other
telephones form the “Buddy List”. The
status of buddies is displayed and updated
in real time. Each telephone can also be
“watched” by up to eight other telephones.
To add or delete a contact from your
buddy list, or block a contact:
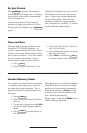
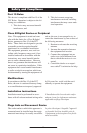
1. Press
Hold
Del
Sel
Conference
1 3
DEF
5
JKL
4
GHI
6
MNO
8
TUV
7
PQRS
9
WXYZ
0
OPER
*
#
2
ABC
Hold
Del
Sel
Directories
Services
Call Lists
Buddy Status
My Status
Redial
Menu
Messages
Do Not Disturb
ABC
21
DEF
3
54
MNOJKLGHI
6
TUV
87
WXYZ
9
OPER
PQRS
0
, select Directories,
and Contact List.
2. Using the arrow keys, scroll through
the directory to choose a contact.
3. Press Edit and scroll down using the
Next soft key to the Watch Buddy or
Block Buddy elds.
4. Use the arrow keys or the Change soft
key to switch between Enabled or
Disabled status.
5. Press the Save soft key or Cancel to
abandon the change.
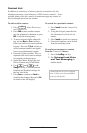
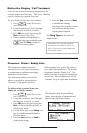
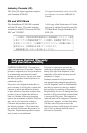
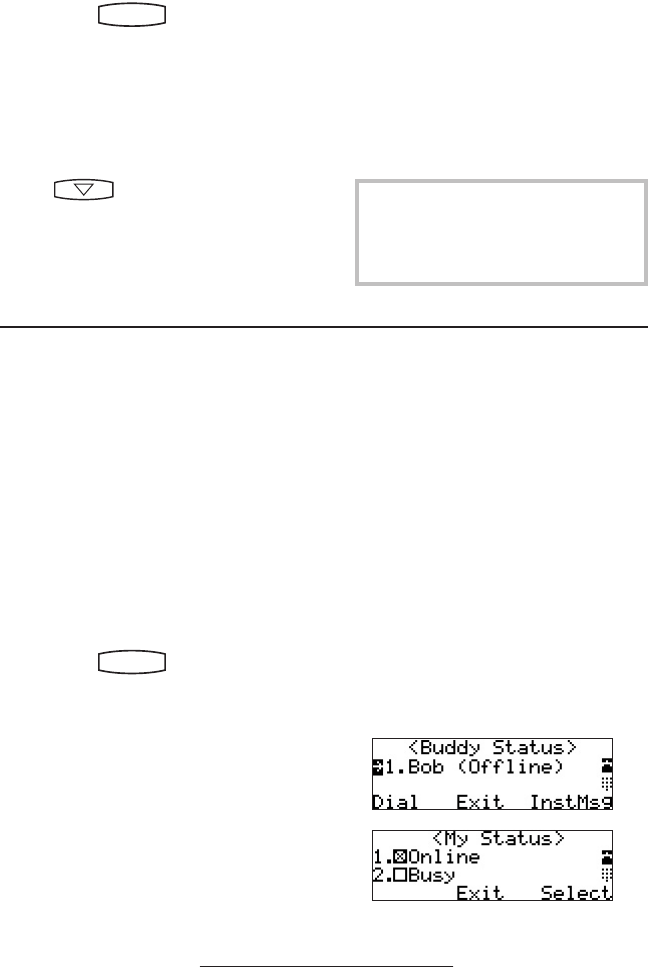
The diagrams show a typical Buddy
Status screen display of monitored tele-
phones and a My Status display.