


55 eleg. (UK) P. 1 a – V3 55 eleg. (UK) P. 1 b – V3
55 eleg. (UK) P. 1 C – V3
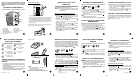
Thank you for purchasing this Philips Elegance 55 answering
machine. With this user-friendly unit you can enjoy the
advantage of quality performance in your communication
lifestyle.
FEATURES OF YOUR ELEGANCE 55
1. Volume Slider
2. Screen Display
3. Play/Stop button
4. Forward/OGM button
5. Answer On/Off Indicator
6. On/Off button
7. Clock button
8. Microphone
9. Rewind/Memo button
10. Erase button
11. Speaker
WHAT YOU SEE ON THE SCREEN
DISPLAY AND ITS MEANING
INSTALLING BATTERY INTO YOUR ELEGANCE 55
Important:
• It is strongly recommended that battery be installed. The battery
acts as back up to prevent any loss of recorded messages when the
main power supply fails.
• If there is no battery installed, not installed properly, or battery low,
the Screen Display will show “Lo”.
• Before opening the battery compartment, make sure that the telephone
plug and power adaptor are disconnected from Elegance 55.
Steps to install the battery:
“Lo” there is no battery,
not installed properly,
or battery low.
“CL” the clock is not set or
it is not set properly.
“Fu”
the memory is full; should
erase some messages to
allow message recording.
“Sc” to change the remote
control security code.
1. Turn your Elegance 55 over.
2. After locating the battery compartment, open the compartment
cover by unscrewing the adjacent screw with a screwdriver.
3. Place a 9 Volt 6LR61 battery into the compartment by following
the positive/negative polarity arrangement as indicated inside.
4. Replace the cover and screw in the screw until the cover is
completely closed.
After installing the battery, plug in the telephone plug and power
adaptor as shown in the diagram below.
74mm
Wall Mounting
Table-top support
Results:
• The Screen Display will show a count from 1 to 15.
• A short beep will be heard.
• The Answer On/Off Indicator will light up.
Elegance 55 is now ready to answer calls for you.
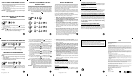
SETTING THE CLOCK OF YOUR
ELEGANCE 55
To listen to the clock settings, press once the CLOCK BUTTON (adjust
the Volume Slider to your desirable volume level).
Reminder : If your clock is not set properly (day, hour and minute),
the Screen Display will show “CL”. Otherwise, “CL” will
not be displayed.
Steps to set your clock’s day, hour and minute :
If you want to stop the settings below, just press once the PLAY/
STOP BUTTON . The clock will revert to its previous settings.
1. Press and hold the CLOCK BUTTON until a voice announces
a day, then release the CLOCK BUTTON.
2. Press either the FORWARD
OGM
or REWIND BUTTON
MEMO
to choose the day you wanted to set.
3. When the day you wanted to set is announced, press once
the CLOCK BUTTON.
4. Continue to press either the FORWARD
OGM
or REWIND
BUTTON
MEMO
to choose the hour you wanted to set.
5. When the hour you wanted to set is announced, press once
the CLOCK BUTTON.
6. Continue to press either the FORWARD
OGM
or REWIND
BUTTON
MEMO
to choose the minute you wanted to set.
7. When the minute you wanted to set is announced, press once
the CLOCK BUTTON.
OGM
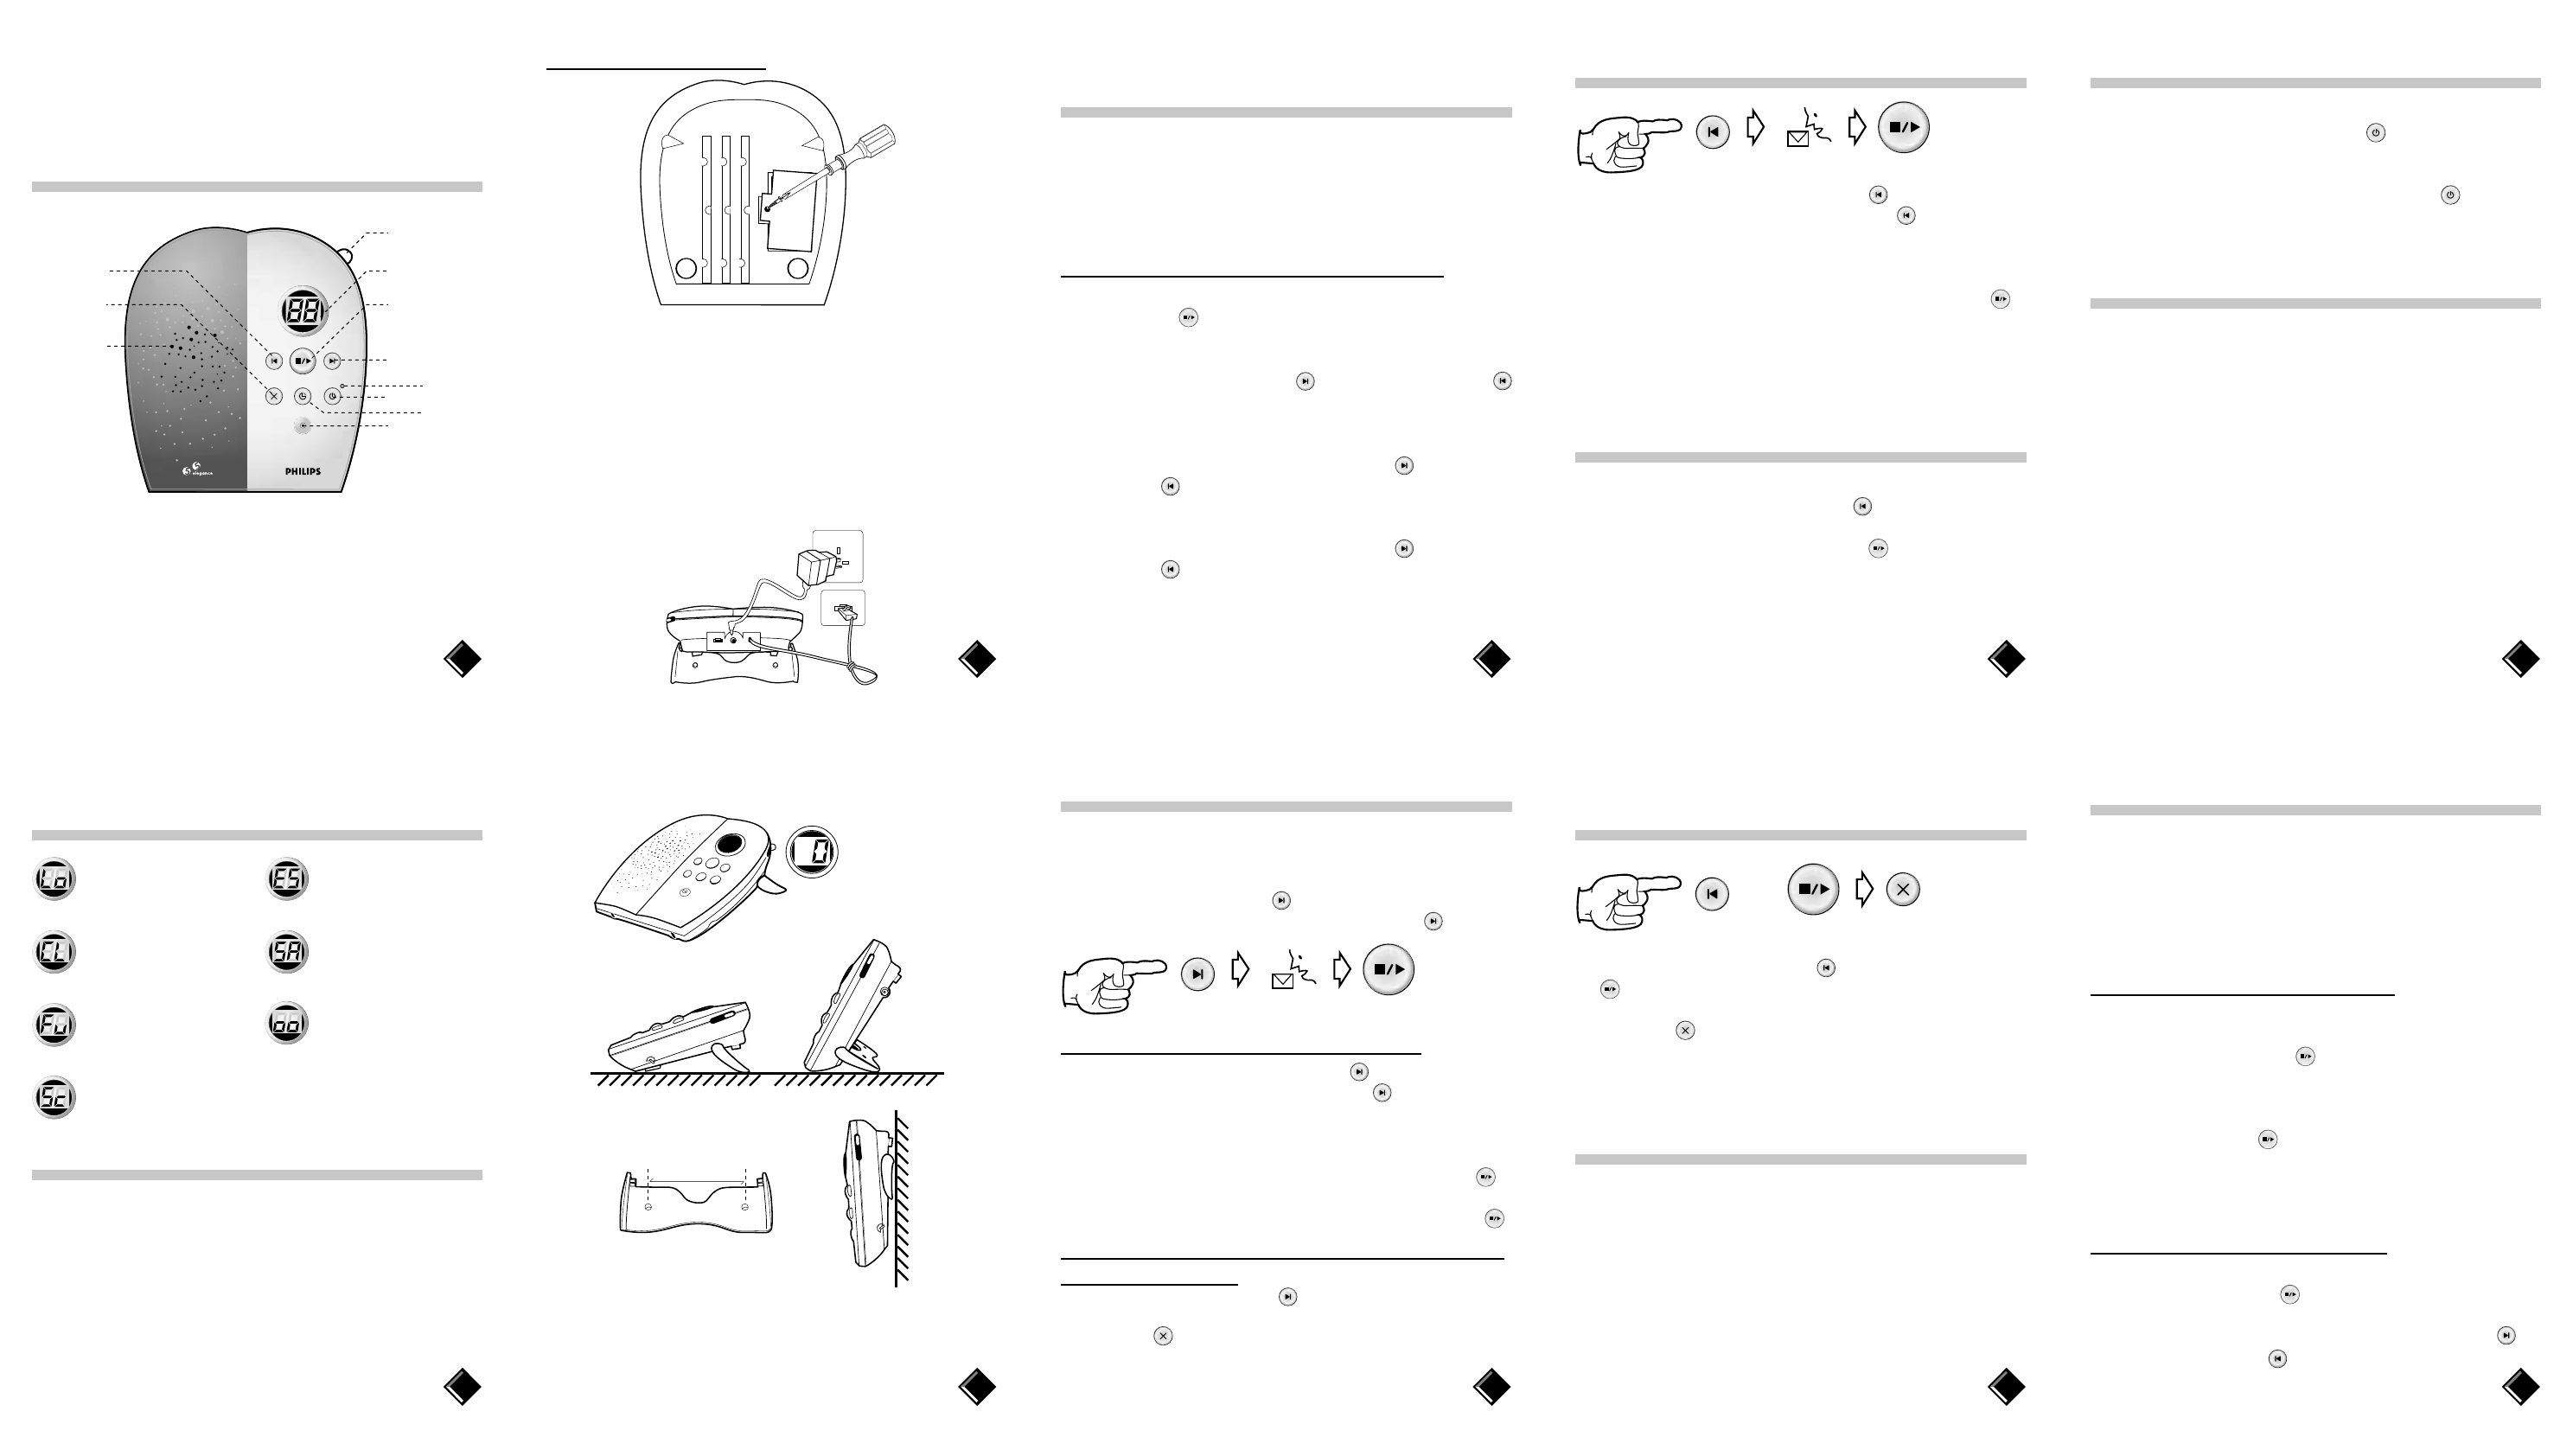
RECORDING YOUR OWN OUTGOING MESSAGE
Your Elegance 55 has a pre-recorded outgoing message: “Hello, we
cannot take your call at the moment. Please leave your message after
the tone.” You can listen to this pre-recorded outgoing message by
pressing once the OGM BUTTON
OGM
. You can also listen to any recorded
outgoing message by pressing once the OGM BUTTON
OGM
.
Steps to record your own outgoing message:
1. Press and hold the OGM BUTTON
OGM
until a long beep is
heard, then release the OGM BUTTON
OGM
.
2. Record your own outgoing message towards the Microphone
(at a distance between 5 to 8 centimetres). You have about 60
seconds to record.
3. After you finish, press once the PLAY/STOP BUTTON .
Result : Your own outgoing message will be played automatically. If you
want to stop it, just press once the PLAY/STOP BUTTON .
Steps to erase your own outgoing message and restore
the pre-recorded one:
1. Press once the OGM BUTTON
OGM
to play your own outgoing message.
2. While your outgoing message is playing, press once the ERASE
BUTTON .
Result : The pre-recorded outgoing message will be played
automatically and your own is already erased from
memory.
MEMO
“ES” all messages are
erased.
“SA” all erased messages
are restored.
“oo” there is/are new
memo(s).
SELECTIVELY ERASING YOUR MEMO
MESSAGES
1. Press once either the MEMO
MEMO
or PLAY/STOP BUTTON
to play your memo message.
2. While your memo message is playing, press once the ERASE
BUTTON .
Result : The next memo message, if any, will be played automatically.
Repeat step 2 if you also want to erase the memo message.
ERASING ALL YOUR MEMO MESSAGES
Reminder :
• This will also erase all your recorded messages. If you want to
maintain some of your recorded messages, it is recommended that
you selectively erase your memo messages.
• For the instructions to erase all your recorded messages, see
ERASING ALL YOUR RECORDED MESSAGES in later
sections.
RECORDING YOUR MEMO MESSAGE
1. Press and hold the MEMO BUTTON
MEMO
until a long beep is
heard, then release the MEMO BUTTON
MEMO
.
2. Record your memo message towards the Microphone (at a
distance between 5 to 8 centimetres). You have about 60
seconds to record.
3. After you finish, press once the PLAY/STOP BUTTON .
Results :
• The Answer On/Off Indicator will flash.
• The Screen Display will show the total number of messages recorded.
2 WAYS TO LISTEN TO YOUR RECORDED
MEMO MESSAGES
Adjust the Volume Slider to your desirable volume level.
• Press once the MEMO BUTTON
MEMO
. After listening, the
Answer On/Off Indicator still will continue flashing.
• Press once the PLAY/STOP BUTTON . After listening, the
Answer On/Off Indicator will stop flashing and light up steadily;
the Screen Display will show the total number of messages
recorded.
MEMO
or
1
2
3
4
5
6
7
8
TURNING YOUR ELEGANCE 55 ON/OFF
• If you want to turn on your machine and record messages,
press once the ON/OFF BUTTON . The Answer On/Off
Indicator will light up.
• If you want to turn off your machine and do not wish to record
messages, press once the ON/OFF BUTTON again. The
Answer On/Off Indicator will extinguish.
RECORDING THE INCOMING MESSAGES
Once your Elegance 55 is ON, it will pick up the incoming call
after 4 rings if there is no new message in the machine, or 2
rings if there are new messages.
LISTENING TO YOUR MESSAGES
Notes :
• Adjust the Volume Slider to your desirable volume level.
• The Screen Display will show the message number that you are
listening to.
• If you have set your clock, the voice will announce the day and time
after each message received.
When listening to your new messages
Your Elegance 55 will inform you that you have new messages by a
flashing Answer On/Off Indicator. To listen to your new messages, press
once the PLAY/STOP BUTTON . If you want to stop listening, just
press once again the same button.
Notes :
• If your memory have both old and new messages, pressing once the
PLAY/STOP BUTTON will only play the new messages.
• After all new messages are played, the Answer On/Off Indicator will
stop flashing, and the Screen Display will show the total number of
recorded messages.
When listening to your old messages
• If you want to listen again to old messages, just press once the
PLAY/STOP BUTTON . To stop listening, press once the
same button again.
• You can also press once either the FORWARD
OGM
or
REWIND BUTTON
MEMO
if you want to skip or repeat the
message.
9
10
MEMO OGM
1.
2.
3.
4.
5.
6.
7.
8.
9.
10.
11.