Getting Started
1
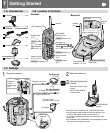
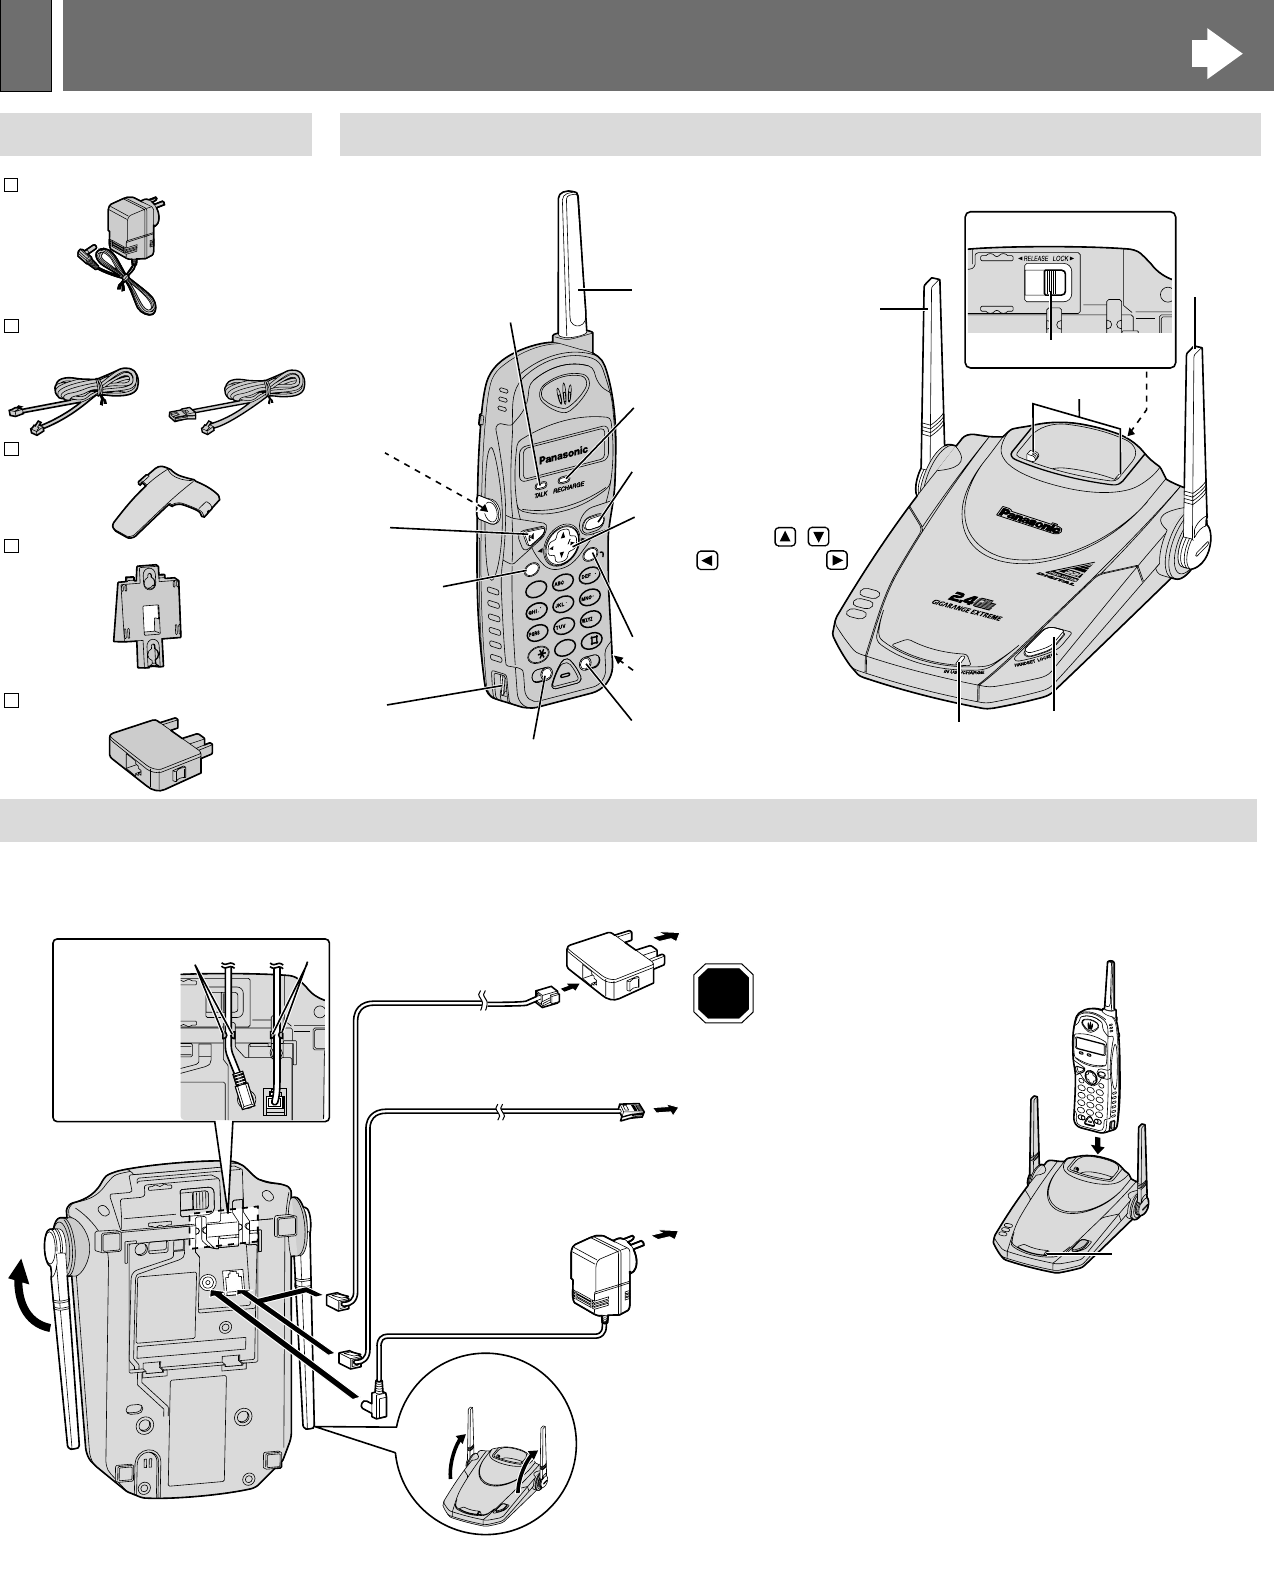
1-A Accessories
1-C Settings
1-B Location of Controls
Handset
Base unit
AC Adaptor................................one
Telephone line Cord..................one
Telephone Plug.........................one
Belt Clip.....................................one
2
Raise the antennas.
3
Charge the battery for
6 hours.
•See section 6-A for more
details.
•The IN USE/CHARGE
indicator lights.
1
Connect as shown.
Back Side
Antenna
(1-C)
Antenna
(1-C)
Cradle Lock Switch (6-F)
(HANDSETÒLOCATOR)
Button (5-D)
Charge Contacts (6-A)
IN USE/CHARGE
Indicator (1-C, 5-D)
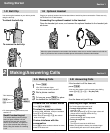
TALK
4
P
A
U
S
E
PAUSE
R
E
C
A
L
L
RECALL
7
8
9
0
CHCH
R
ED
IAL
REDIAL
1
2
3
5
6
AUTOAUTO
PROGRAM
D
I
R
E
C
T
DIRECT
LOUD LOUD
R
I
N
G
E
R
RINGER
O
N
O
F
F
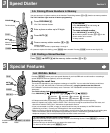
Navigator Key
(LOUD/RINGER , ,
AUTO , PROGRAM )
(
2-A, 2-B, 3-A, 4-A, 5-A
)
TALK Indicator (2-A)
RECHARGE
Indicator (6-A)
Antenna
(RECALL) Button (5-A)
(TALK) Button
(2-A)
Charge Contact
(6-A)
Charge Contact
(6-A)
(CH) (Channel)
Button (2-A)
Headset Jack
(1-E)
(PAUSE) Button
(5-C)
(REDIAL) Button (2-A)
(DIRECT) Button (4-A)
IN USE/CHARGE
Indicator
To Power Outlet
(AC 230 V–240 V, 50 Hz)
AC Adaptor
Telephone Line Cord
Raise the
antennas.
Fasten the
cords to
prevent them
from
disconnecting.
Hooks
Hooks
Telephone
Plug
For New Zealand
To Single-Line Telephone Jack
Telephone Line Cord
To Socket
For Australia
STOP
Wall Mounting Adaptor..............one
For Australia For New Zealand
For Australia only
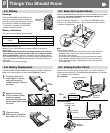
•USE ONLY WITH Panasonic AC ADAPTOR PQLV1AL.
•The AC adaptor must remain connected at all times. (It is
normal for the adaptor to feel warm during use.)
•To connect a standard telephone on the same line, see
section 6-D.
•KX-TG2503ALF/KX-TG2503NZF is not designed to be used
with rotary (pulse dialling) services.


