WALL MOUNT INSTRUCTIONS
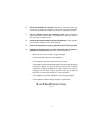
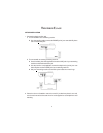
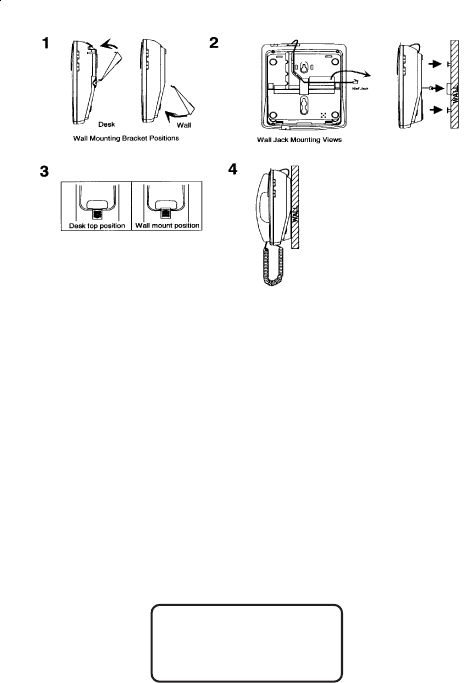
1. Install the wall mount bracket in wall mount position and route cords as shown in
diagram below.
2. Connect the line cord. See Step 1 on preceding page for specific instructions.
3. Push out the handset hook and reattach in opposite direction for the wall mount
position, plug the coiled cord into the handset, and then plug the other end of the cord
into the base.
4. Place the handset on the base.
5
24/90V MESSAGE WAITING LAMP
If your phone is installed behind a Message Waiting enabled PBX, you will need to set the
MW switch in order to receive the Message Waiting indication.
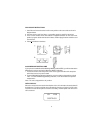
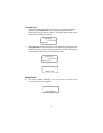
1. Locate the switch under the plastic cover on the right hand side of the faceplate
where the memory keys are located.
2. For 90V PBX Message Waiting Indication, move the switch to the position marked
“90V”. For 24V PBX Message Waiting Indication, move the switch to the position
marked “24V”.
Note: The unit is shipped in the off position.
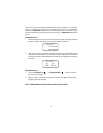
INITIAL DISPLAY
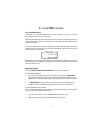
When the unit is first connected to the telephone line, the information shown below will
be displayed. The time and date are automatically set when a Caller ID (CID) call is
received. The unit will keep the current time accurately, and will update each time a CID
call is received.
1/01
AM
12:00
CORTELCO


