


12
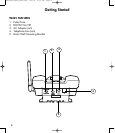
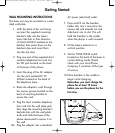
WALL MOUNTING INSTRUCTIONS
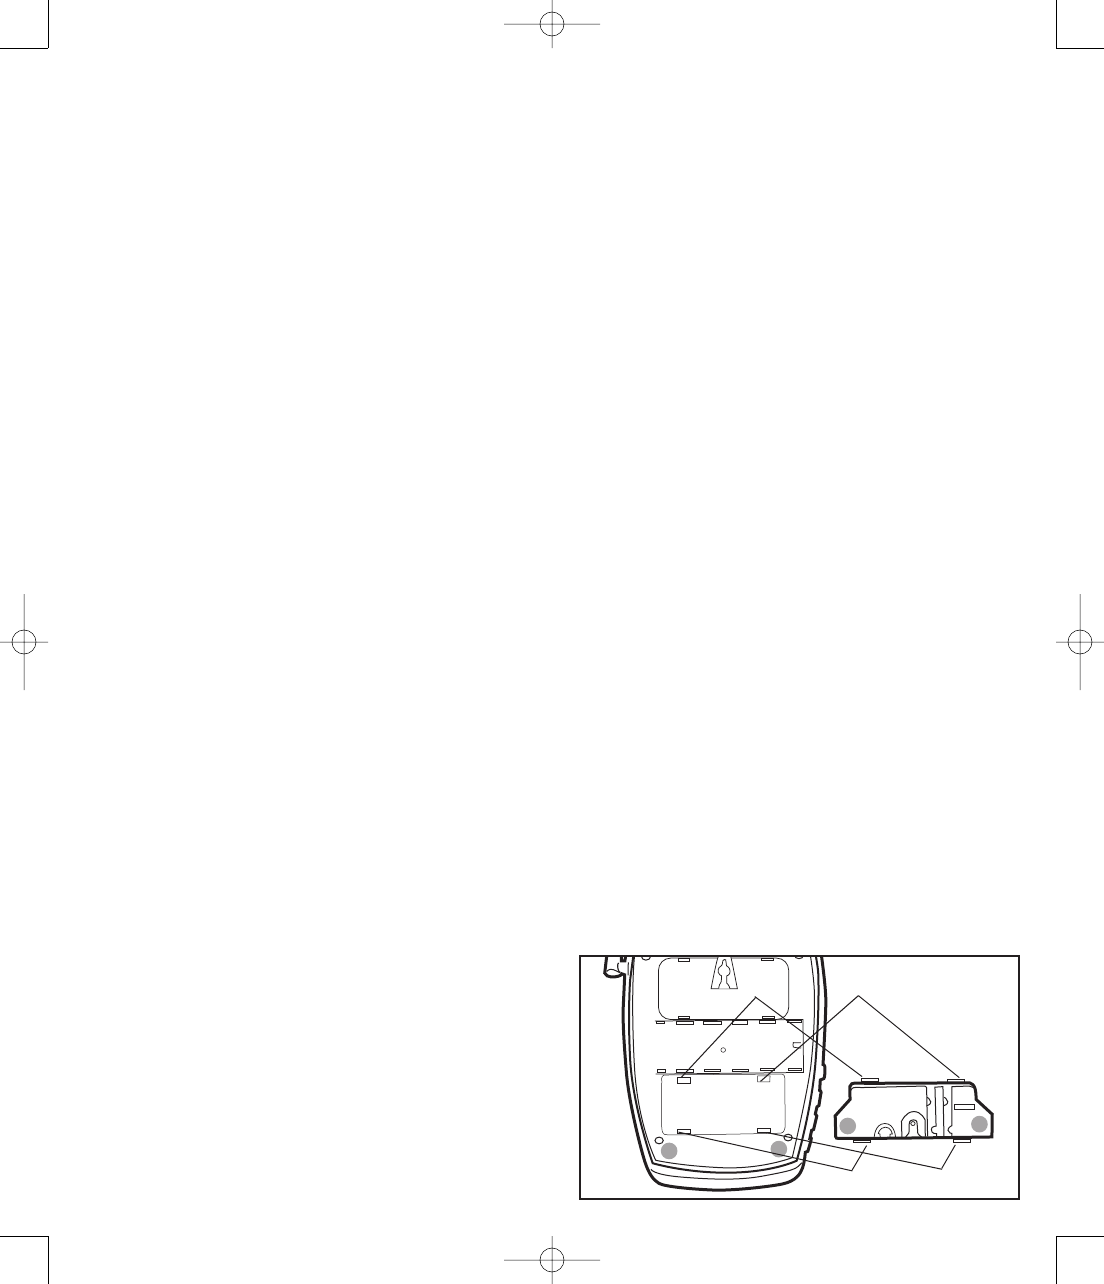
The base unit may be mounted on a stan-
dard wall plate.
1. With the back of the unit facing
up insert the supplied mounting
bracket’s tabs into the base’s
lower tab slots in then direction
of WALL MOUNT marked on the
bracket, then press down on the
brackets clips and insert them
into the clip slots.
2. Plug one end of the supplied short
modular telephone line cord into
the TEL jack located on the back
of the base of the phone.
3. Insert the plug of the AC adapter
into the jack marked DC 9V
400mA located on the back of
the telephone base.
4. Route the adapter’s cord through
the narrow groove located on the
back of mounting bracket to
secure the cord.
5. Plug the short modular telephone
line cord into the wall plate jack,
then align the mounting bracket’s
keyhole slots with the wall plate
studs and slide the base of the
phone downward to secure it on
the wall.
6. Plug the adapter into a standard
AC power (electrical) outlet.
7. Press and lift out the handset
holder tab, turn it around so the
narrow tab end extends out and
slide back into its slot. This will
hold the handset in the cradle
when the phone is wall mounted.
8. Lift the base’s antenna to a
vertical position.
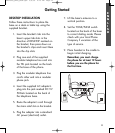
9. Set the TONE/PULSE switch
located on the back of the base to
correct dialing mode. Please
check with your local Phone
Company if uncertain of the type
of service.
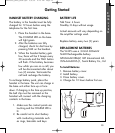
10.Place handset in the cradle to
begin initial charging.
Remember, you must charge the
phone for at least 12 hours
before you use the phone for the
first time.
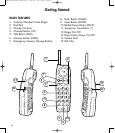
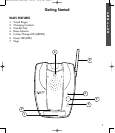
Getting Started
PM050905_W425_RevA.qxd 5/9/05 4:15 PM Page 12