SOFTWARE INSTALLATION
1. Insert the mini-CD (included with the IP-EWST / IP-EWST-POE set) into the PC to be used as a
master station.
2. Install the TalkMaster™ software by following the on-screen prompts, or by navigating to your CD
drive and executing “setup.exe” to begin the installation process.
3. Consult the TalkMaster™ User Guide document for further software functionality and configuration
information.
Pg. 3
HARDWARE DIAGNOSTICS & TROUBLESHOOTING
To confirm proper hardware functionality, it is best to use an Ethernet crossover cable (not included).
This can be used to directly connect the IP-EWST to any PC with a standard 10/100 Ethernet interface
for troubleshooting and preprogramming.
Follow these steps to troubleshoot proper connection:
1. Ensure proper power is connected to the IP-EWST. If using the IP-EWST-POE, make sure that
the Ethernet device being connected is 802.3af-compliant, or that a proper power supply is used
(7.5 to 9VDC, 500mA). Do not connect both Power-over-Ethernet and a separate power supply!
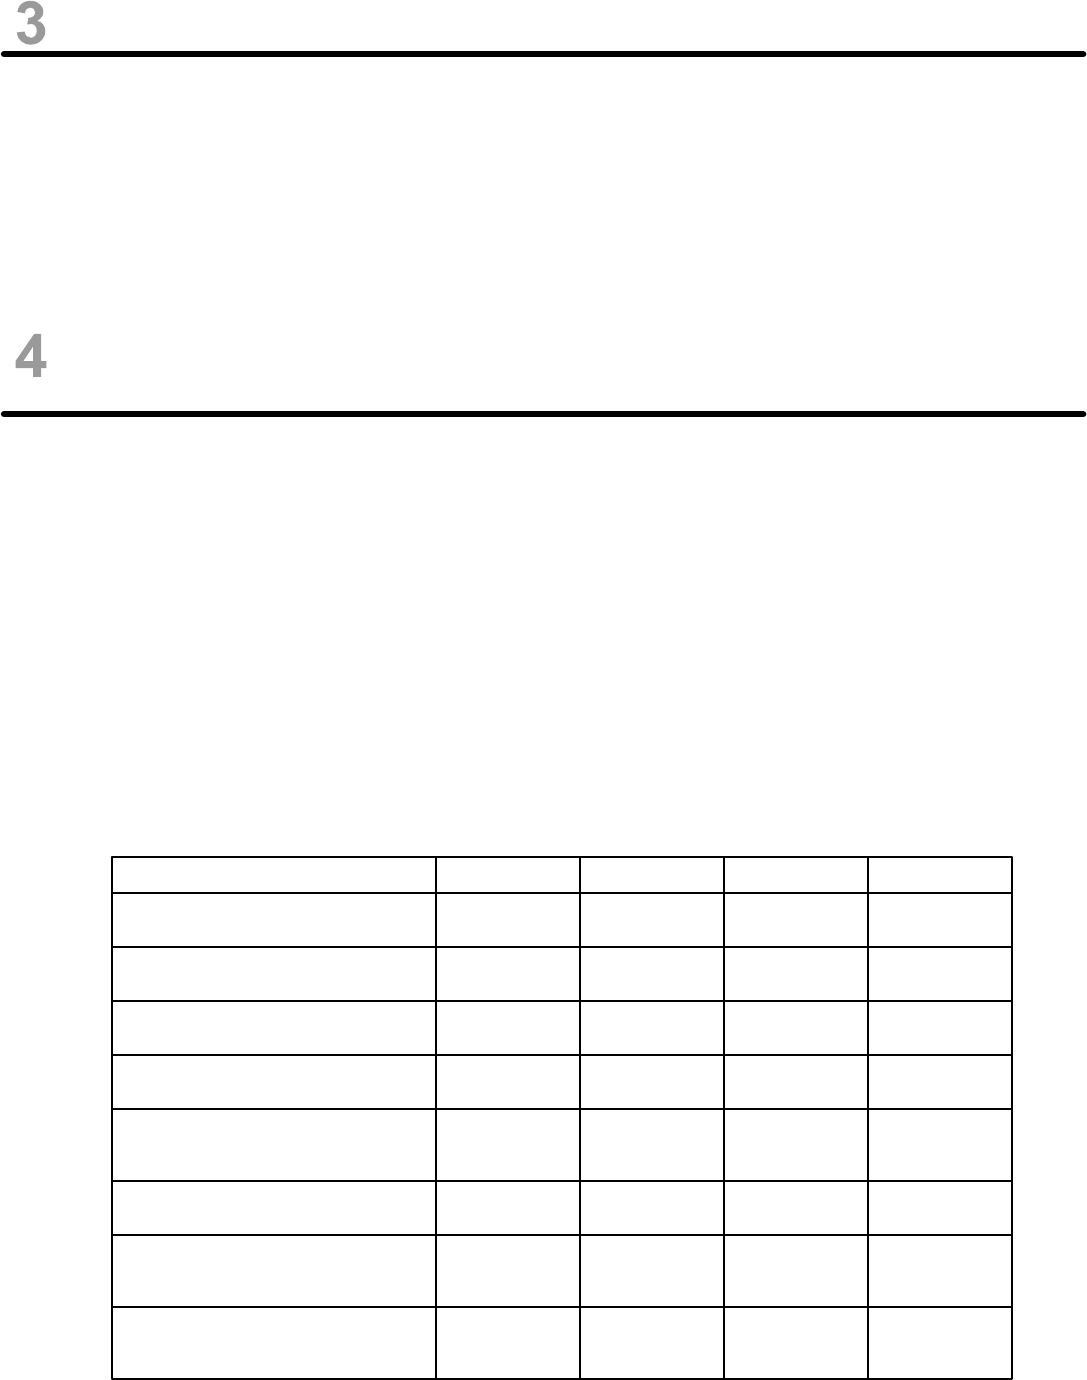
2. Check the IP-EWST diagnostic LEDs labeled LD10, LD9, LD8, and LD1 for proper illumination
(located next to the manual substation pushbuttons). Consult the following table for LED indicator
status meanings:
Operational Mode LD10 LD9 LD8 LD1
Normal operational mode. TalkMaster™ is
active. Intercom can communicate.
ON ON - -
- -
LAN connection is inactive. The RJ-45 may
be unplugged, or LAN lost power.
FLASH OFF
DHCP IP is enabled but address is not
being assigned.
FLASH ON - ON
TalkMaster™ software is not running on
PC or not set to communicate.
FLASH ON - -
TalkMaster™ software at the server has
"Scanned" for intercoms in the
Configuration Mode utility setup.
FAST FLASH ON - -
Receiving audio. The TalkMaster™
software / PC microphone is on.
ON - FLASHON
Sending audio. Manual talk button is
pressed or TalkMaster™ has engaged
"listen" mode.
ON - ONON
Intercom is in "Server" mode, waiting for a
client to request connection (LD10 flash
alternates 1sec fast, 1sec slow).
DUAL FLASH - --
