


11
3.2 Connect to device
A DVR supports various functions such as Live Monitoring, Normal Playback,
Event Playback, and Menu Configuration. Alternatively, an IP camera will be
directly connected for Live Monitoring function only.
Refer to the following sections for description of Live Monitoring, Normal
Playback, and Event Playback. Menu Configuration will be described in the
next chapter, Advanced Functions.
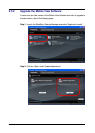
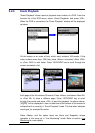
3.2.1 Live Monitoring
“Live Monitoring” allows users to view live video of a DVR or an IP camera. In
addition, users can also switch channel (DVR only), view zoomed image, take
snapshot pictures, or even control PTZ function when viewing a dome camera
video.
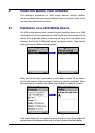
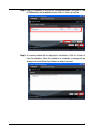
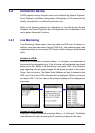
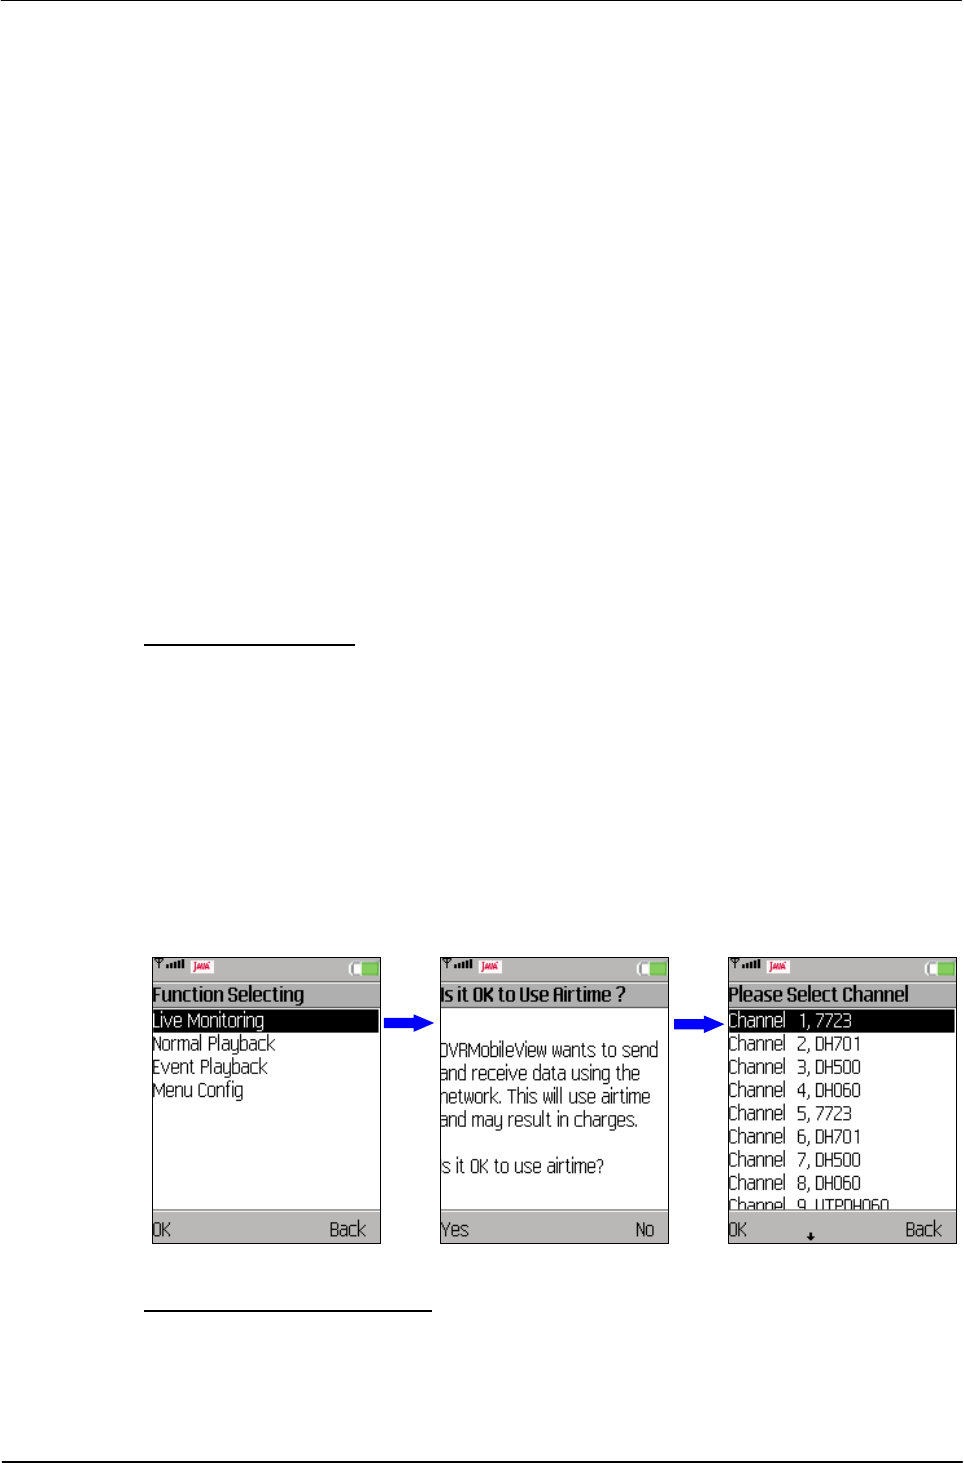
Connect to a DVR:
Select a DVR bookmark and press <Menu> Æ <Connect> (or press enter at
the center of the navigation keys). A list of function will be displayed as shown
below on the left. Select <Live Monitoring> and press <OK>. A confirmation
page regarding internet usage charges will be shown as below in the center.
Press <Yes> to confirm. The Mobile View Software will start to connect to the
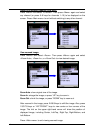
DVR, and a list of the DVR’s channels will be displayed. Select any channel
and press <OK>. The live video of the selected channel will be displayed on
the screen.
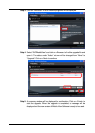
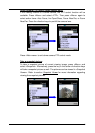
Connect to an IP camera:
Select an IP camera bookmark and press <Menu> Æ <Connect>. The Mobile
View Software will start connecting the IP camera to display its live video.