


53
Copying Photos
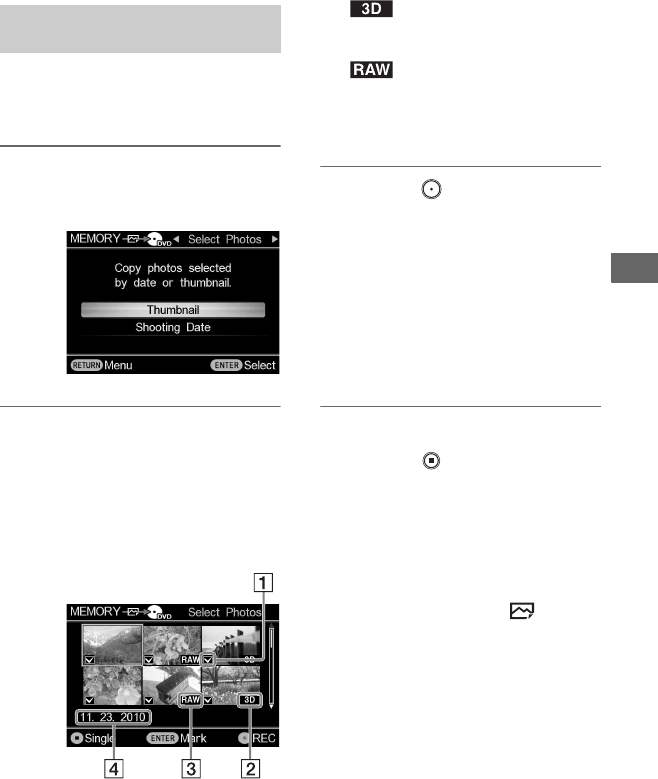
If you select copy mode [Select Photos] in
step 2 (page 51), select [Thumbnail] or
[Shooting Date].
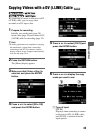
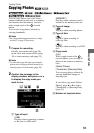
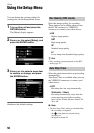
1 Press V or v to select [Thumbnail]
or [Shooting Date] and press the
ENTER button.
2 Press B/V/v/b to select the
viewing thumbnail or shooting
date you want to copy and press
the ENTER button to mark.
Pressing the ENTER button toggles the
selection between marked and
unmarked.
A Marked photo to copy
B []
Displays which photo is 3D (.mpo file)
format.
C []
Displays which photo is RAW (.arw
file) format.
D Shooting date
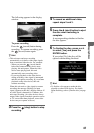
3 Press the (record) button to
start recording.
This unit starts the recording process.
For serial procedure, follow after step 3,
on page 52.
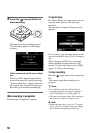
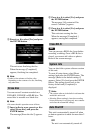
If the contents do not fit onto a single
disc
The number of discs required and
confirming message will appear. Select
[Yes] to start recording contents.
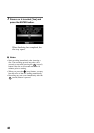
z Hint
• If you press the (stop) button when
thumbnails are displayed, the photo selected
will be displayed in full. The photo can be
rotated 90 degrees right with each press of b.
The photo can be rotated 90 degrees left with
each press of B (JPEG photo only).
b Notes
• Some photo files cannot be displayed as
thumbnail images. In that case, is
displayed.
• It takes time to display thumbnail images if
there are many photos.
• If a 3D photo (or RAW format photo) and JPEG
file have a same number, such as
“DSC001.mpo” (or “DSC001.arw”) file and
“DSC001.jpg” file, only one photo will be
displayed as a thumbnail. However, both the 3D
photo (or RAW format photo) and JPEG file are
copied.
To copy photos selected by
[Select Photos]