


8
Connections and Setup
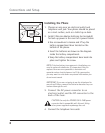
Installing the Phone
1. Choose an area near an electrical outlet and
telephone wall jack. Your phone should be placed
on a level surface, such as a table top or desk.
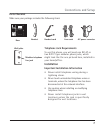
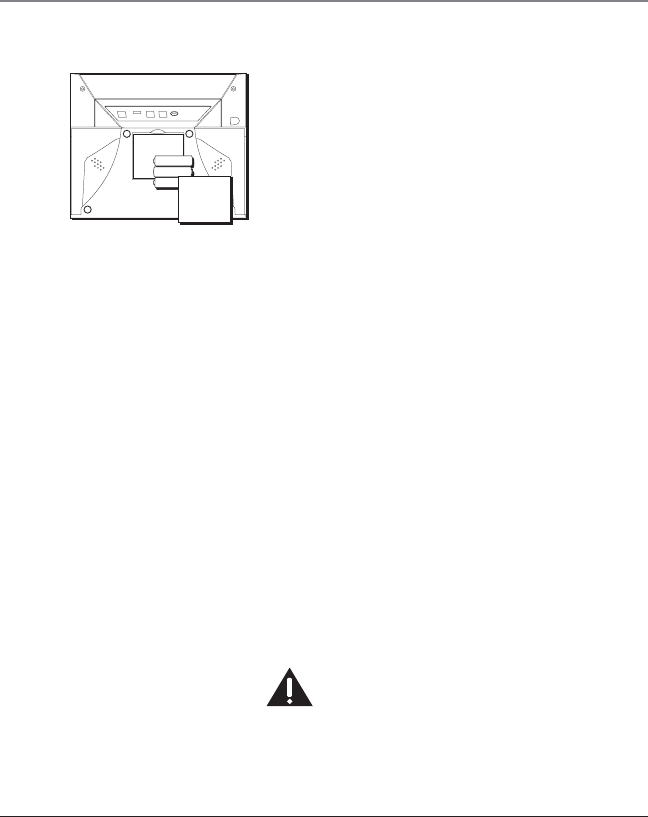
2. Install 3 AA-size alkaline batteries (not included)
for back up power in the event of a power failure.
• Use a screwdriver to loosen and lift up the
battery compartment door located on the
bottom of the phone.
• Insert the batteries as shown on the diagram
inside the battery compartment.
• Snap the battery compartment door back into
place and tighten the screw.
NOTE: If the low battery icon appears in the display, you
need to replace the batteries. It is important that you
replace them as soon as possible to maintain unit
operation when electrical power is off. As a precaution,
you may want to write down any stored information you
do not want erased.
IMPORTANT: If you are not going to use the telephone for
more than 30 days, remove the batteries because they can
leak and damage the unit.
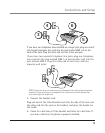
3. Connect the AC power converter to an
electrical outlet and the DC connector to the
back of the base.
CAUTION: Use only the ATLINKS USA 5-2495 power
converter that is compatible with this unit. Using
other power supplies may damage the unit.
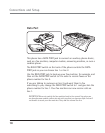
4. Connect the telephone line cords: