


OPERATION (continued)
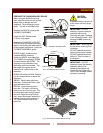
CAUTION:
Hot Surface
Exposed surfaces
can be hot to the touch and
may cause burns.
IMPORTANT: DO NOT
POUR WATER OVER
ELEMENTS TO REFILL
PAN.
DO NOT splash or pour water
onto controls, control panels
or wiring.
8
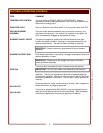
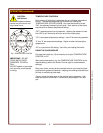
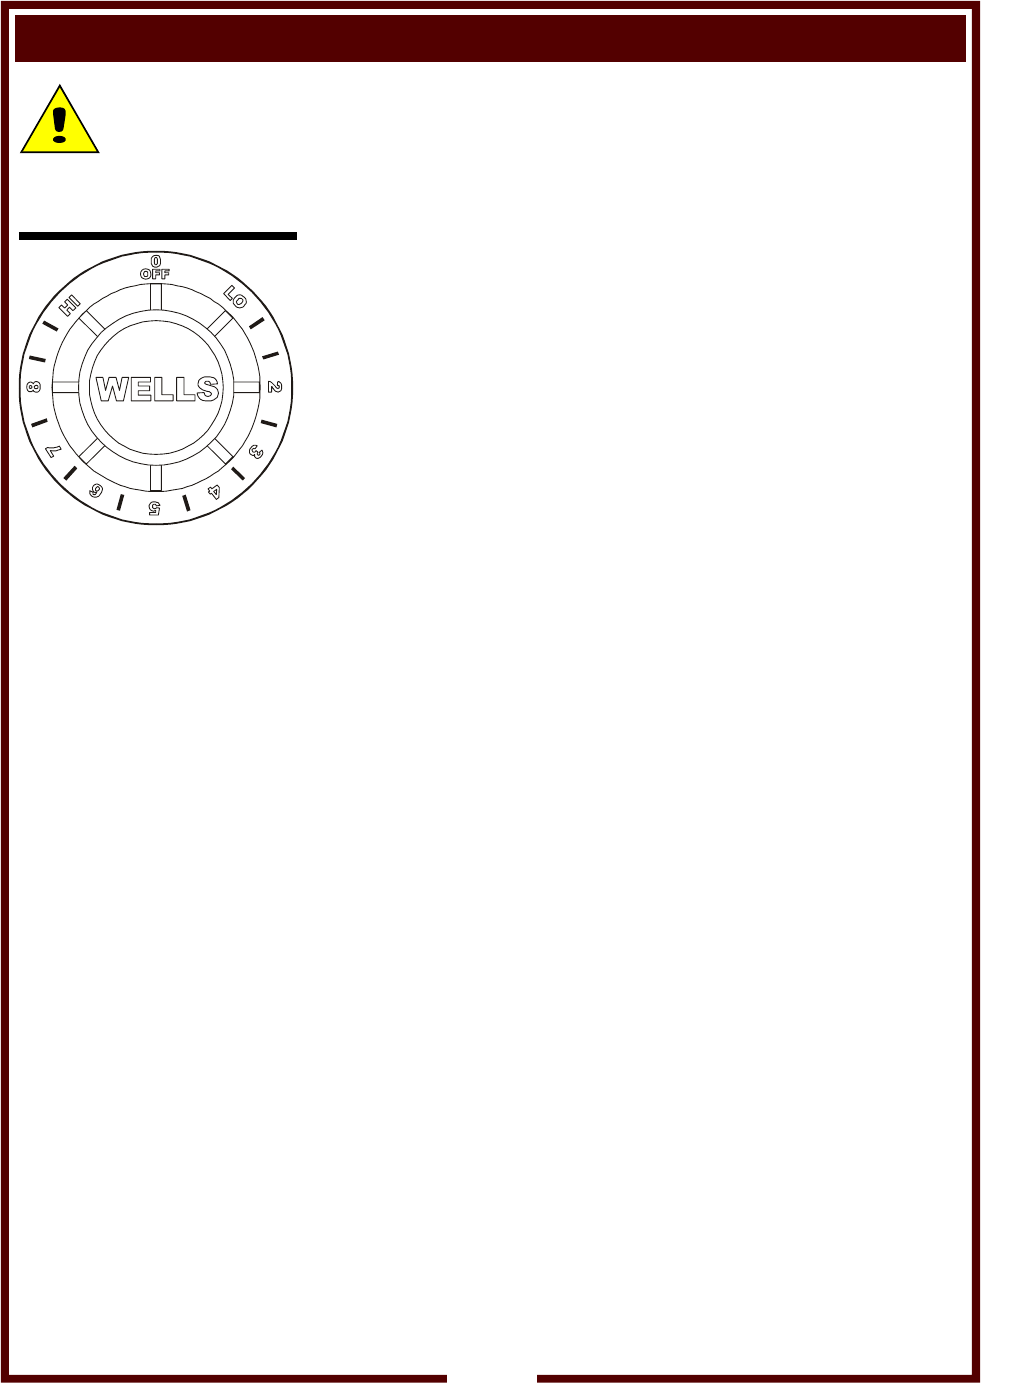
TEMPERATURE CONTROLS
Each section of the broiler is equipped with an individual temperature
control. The desired temperature is controlled by rotating the
TEMPERATURE CONTROL KNOB. Any time the control is turned
“ON”, the adjacent indicator light will glow. Each section of the broiler
may be set to a different temperature setting.
“OFF” removes power from the element., allowing the element to cool.
Use OFF to turn the broiler off at the end of the cooking day.
“LO” is the lowest temperature settings. Use LO for stand-by operation.
“2” thru “8” are temperature settings. Higher number indicate higher
temperature.
“HI” is a continuous ON setting. Use HI for pre-heating the broiler.
USING THE CHAR-BROILER
Pre-Heat the broiler ten (10) minutes by turning the TEMPERATURE
CONTROL to “HI”.
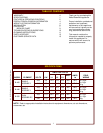
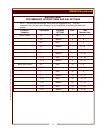
After the pre-heat period, turn the TEMPERATURE CONTROL to the
desired setting (refer to the Broiler Chart at right for recommended
settings).
After every order, use the brush provided to brush any remaining food
particles from grate and elements. Keeping the cooking surfaces clean
will help in maintaining food taste.
Visually check the water level in the drip pan during operation. Add
water as required to maintain 2 inches (5cm) water depth in the drip
pan.
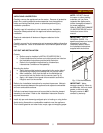
Fig. 7 TEMPERATURE CONTROL
162 303673 OpManual for Built-In Electric Charbroilers